- Home
-
PHOTO 1
-
PHOTO 2
-
PHOTO 3
- INFO >
- CLASS NOTES
-
ASSIGNMENTS
>
- STUDIO LIGHTS
- Composing: Creating an Abstract or Geometric Composition
- Composing: Creating an Abstract or Geometric Composition
- EMPHASIS ON COLOR THEORY
- DESIGNING IN B&W
- Formal and Informal Portraits
- CUBIST PORTRAITS
- NATURAL LIGHTING
- COMPOSITION - SCAVENGER HUNT
- STREET PHOTOGRAPHY
- MANDALA
- NIGHT
- RHYTHM & REPETITION
- PATTERNS & RHYTHM WITH LIGHT
- STUDIO PORTRAITURE
- PHOTOGRAM - MEMOIRS - THE DIGITAL VERSION
- HDR Landscapes
- PORTFOLIO
- VIDEOS
- HANDOUTS
- GALLERY
-
AP 2D ART + DESIGN
- INFO >
- SUMMER PROJECT
- SUSTAINED INVESTIGATION
- ELEMENTS + PRINCIPLES
- STUDIO LIGHTS
-
ASSIGNMENTS
>
- DESIGNING IN B&W
- COLOR THEORY
- TRIPTYCH
- SUSTAINED INVESTIGATION #1
- SUSTAINED INVESTIGATION #2
- SUSTAINED INVESTIGATION #3
- SUSTAINED INVESTIGATION #4
- SUSTAINED INVESTIGATION #5
- SUSTAINED INVESTIGATION #6
- SUSTAINED INVESTIGATION #7
- SUSTAINED INVESTIGATION #8
- SUSTAINED INVESTIGATION #9
- SUSTAINED INVESTIGATION #10
- ABSTRACT & GEOMETRIC COMPOSITION
- STUDIO PORTRAITURE
- TEXTURES & ABSTRACTIONS FROM THE...
- WEBSITE PORTFOLIO
- CLASS NOTES
- HANDOUTS
- VIDEOS
- GALLERY
- 3D ART 1
- 3D ART 2
- 3D ART 3
- Contact
COMPOSING
Part 1: SKETCHBOOK
You should compose each picture so that its parts work together to create a work of beauty. Each item in a picture has an effect on the whole, so don’t just point and shoot. Take a little time to compose each picture into the masterpiece it could be. Remember that you are trying to develop mastery in concept composition as well as in technique.
The challenge is to compose by controlling how the subject is seen and what emotions are felt by the viewer. This is done through composition—the relationship of the elements in an image with each other and with the frame. You know that good feeling you get when you snap a great shot? Well, just follow these guidelines, and you’ll start to see things differently through the viewfinder—and take great shots more often. Take a little time to compose each picture into the masterpiece it could be. Remember that you are trying to develop mastery in concept composition as well as in technique.
Visit various sites and make notes in your journal about each topic. Include one image to illustrate each of the guidelines listed below. If one of your photos fits—then use that as your image.
1. Be a picture director
Take an extra minute to compose your photograph so that the reason you are taking it is clearly evident. Control your canvas by moving subjects, props, or your angle to add context and see things in a better way.
2. Focus on good stuff/ eliminate unimportant
Don’t include too much. Extra elements can confuse things. Strengthen your subject by eliminating all unimportant components and background clutter.
3. Choosing a main point of interest
4. Experiment with Different Vantage Points (Angles of View)
Experiment with different angles. Eye level is great for a lot of shots. But if you want more from your photos, you have to explore. Get close and fill the frame. Crouch down and shoot up at your subject or shoot along the floor. Get up on a chair or table and shoot from above. Just be careful or you might be icing your ankle while viewing the results.
5. Placing the subject off-center or follow the Rule of Thirds.
Placing the subject in the middle of the frame makes a picture more static and less interesting. Imagine a tic-tac-toe board over your viewfinder and position the subject toward one of the intersections. With landscapes, keep the horizon along the lower third to give a feeling of spaciousness. Position the horizon along the upper third to give a feeling of nearness or intimacy.
6. Using leading lines
Lines are everywhere around us. In people, trees, walls, shadows—you just have to look for them. These natural lines can strengthen composition by leading the viewer’s eyes toward your subject. Diagonal lines can add energy. Curved lines can add soft elegance. Using a road or path as a leading line can add depth.
7. Avoiding distracting backgrounds
Before you shoot, take a look around for an uncomplicated backdrop that complements the subject instead of competing with it. Beware of trees or poles sprouting from your subject's head. Even better: Find a background that draws the viewer's eye to the most important part of the picture.
8. Include foreground objects
Framing your subject with elements in the foreground can also add scale and depth to pictures. Overhanging tree branches, doorways, anything that covers at least two sides of the photo can give a three-dimensional effect that invites viewers into the image.
9. Go Vertical.
Rotate the camera 90 degrees to compare the different effects on composition, even when you might not think it necessary. A composition that naturally lends itself to horizontal can make a stunning vertical picture.
10. Framing - Watch the edge!
Place your subject close to the edge of the frame and experiment with radical crops. If your subject is in motion, give them plenty of space within the frame to move into.
11. Balance – Use Asymmetry & Geometry
Off-center subjects can be balanced on the opposite side of the frame with leading lines, shadows, and objects in the foreground or background.
Balance can also be achieved by creating simple geometric shapes. This makes images naturally easier to decipher and more pleasing to the eye. This photo is a good example of subjects creating a triangle, which brings strong balance and unity to the image.
12. Leave something to the imagination.
Sharp, detailed images are the norm. Purposely leave part of your main subject out of focus. Just focus on something in front of or far beyond the subject to create a dream-like effect.
Part 2: SKETCHBOOK
Find 2 examples for each of the items listed below and place in you journals.
WHAT TO DO:
After reviewing the rule of thirds, composition guidelines and visiting various websites, you are to photograph the following (refer to examples you have found and placed in your sketchbook):
Plan Your Photo Composition (36 works): FILM
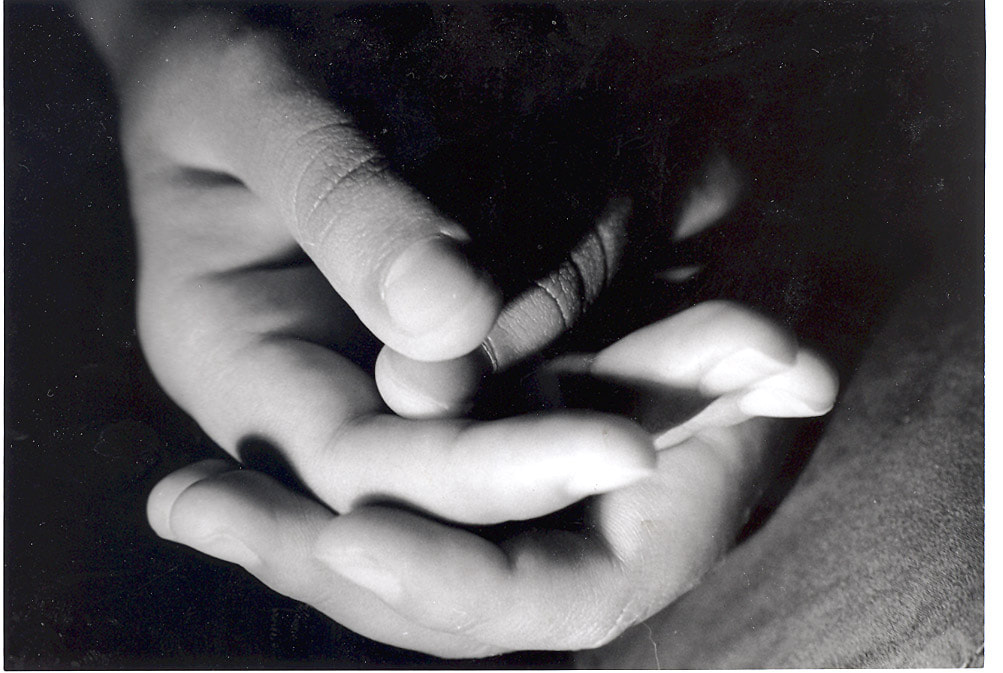
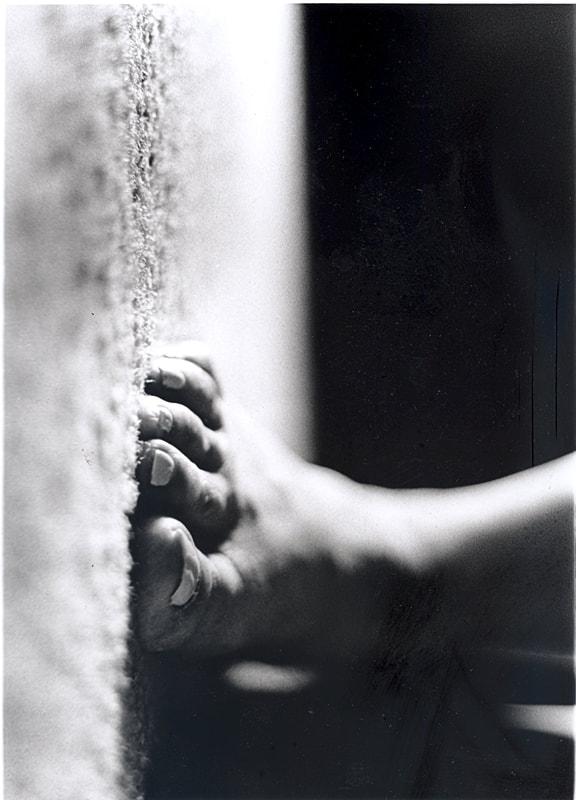
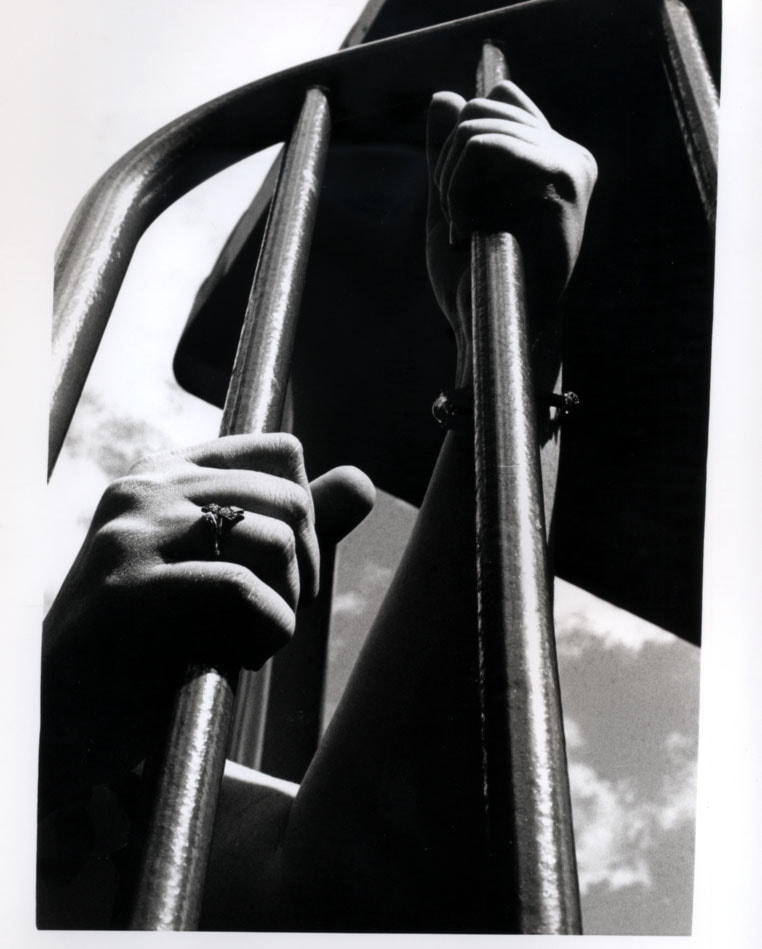
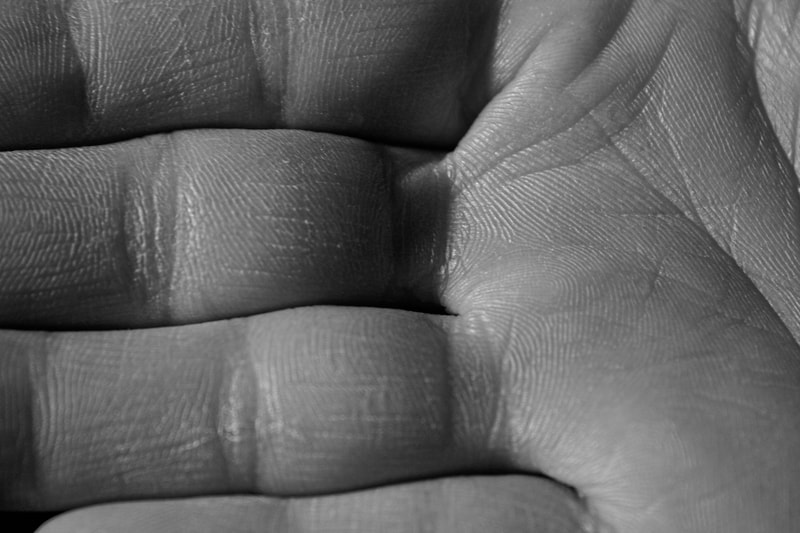
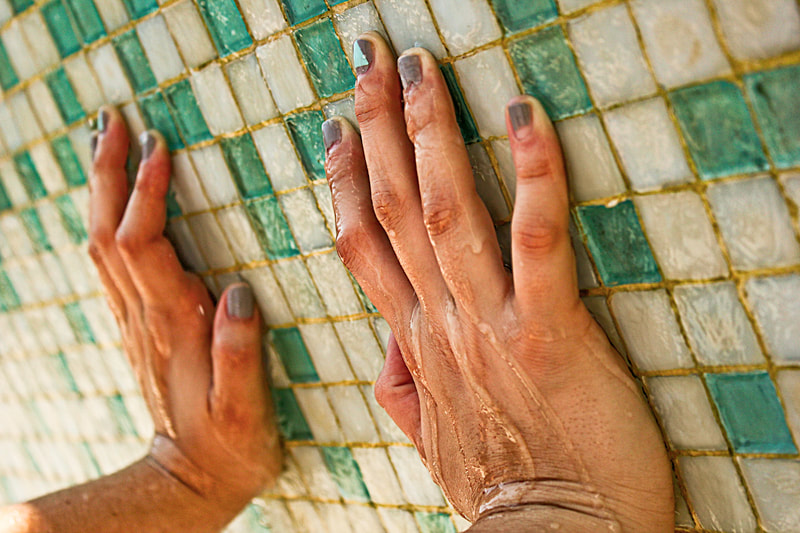
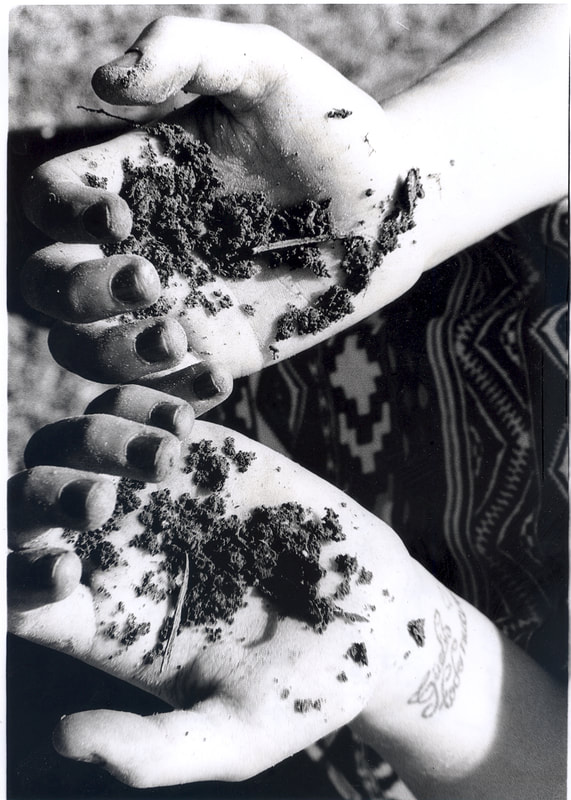
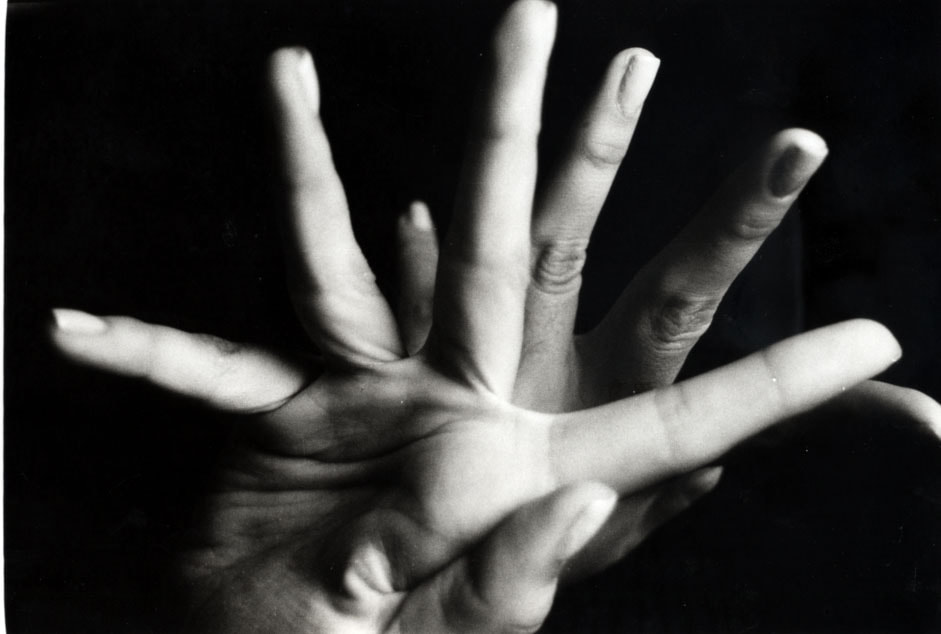
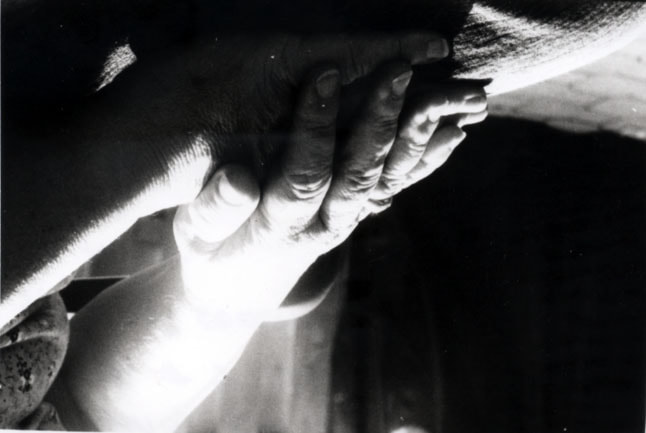
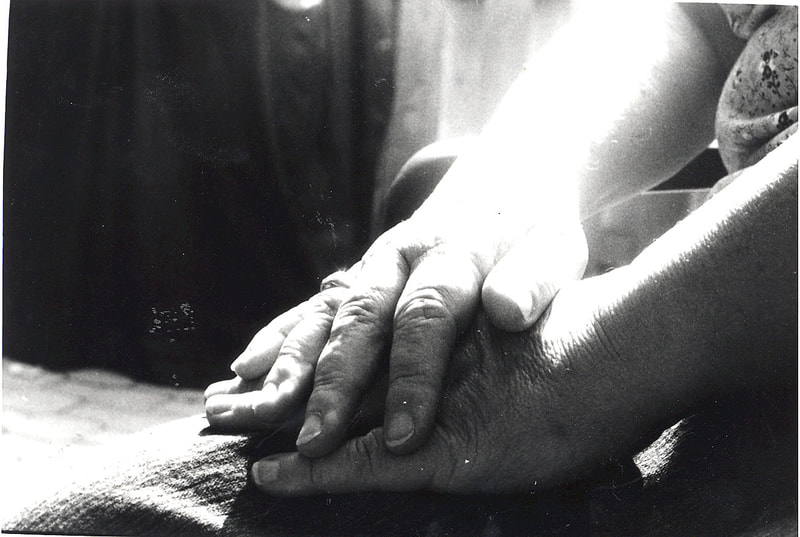
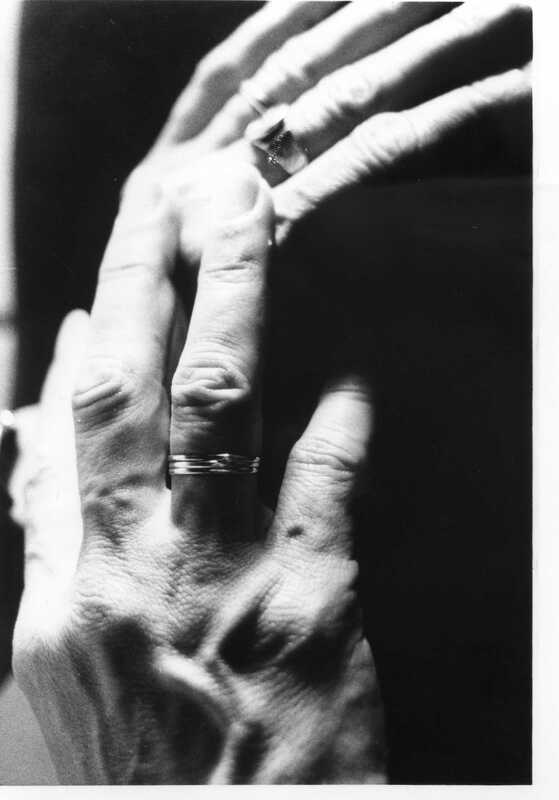
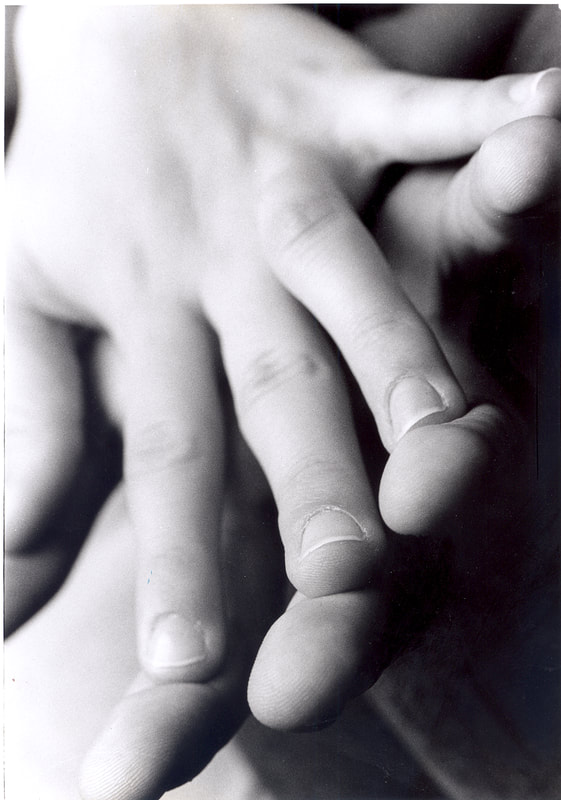
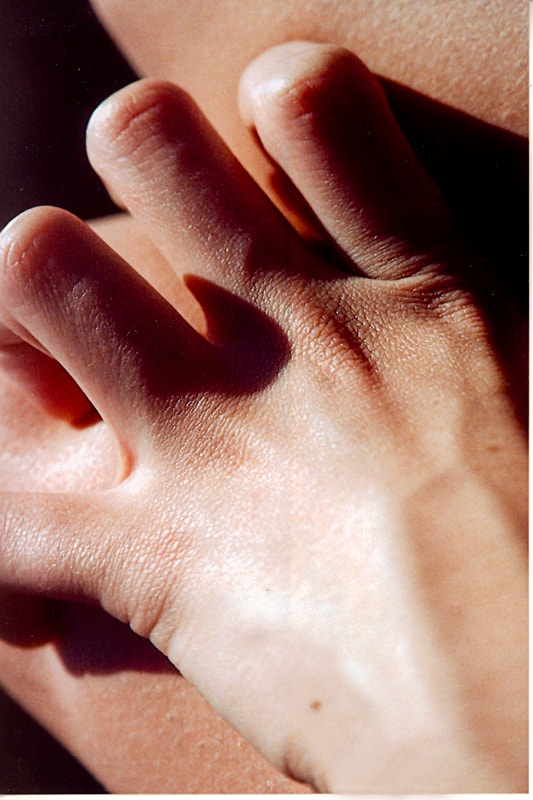
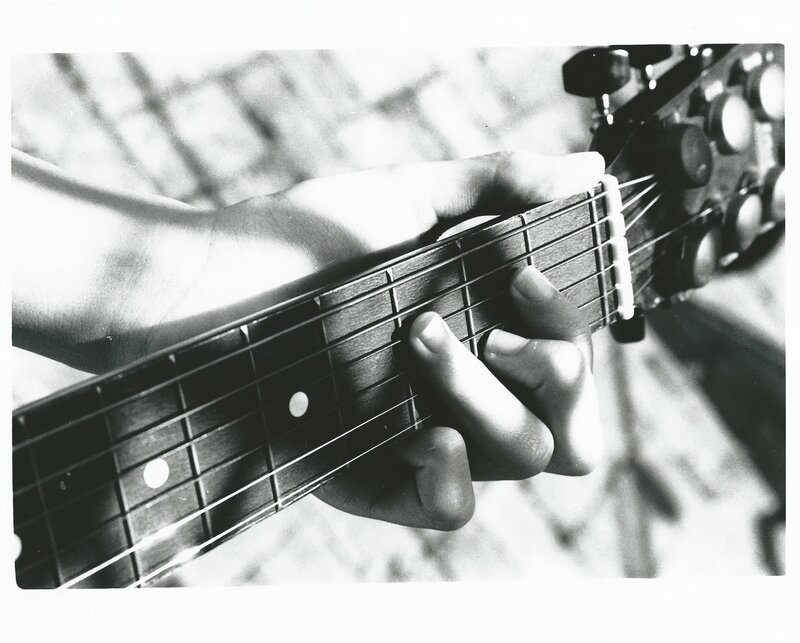
1. Hands (such as braiding hair, holding something, working on something) (four works)
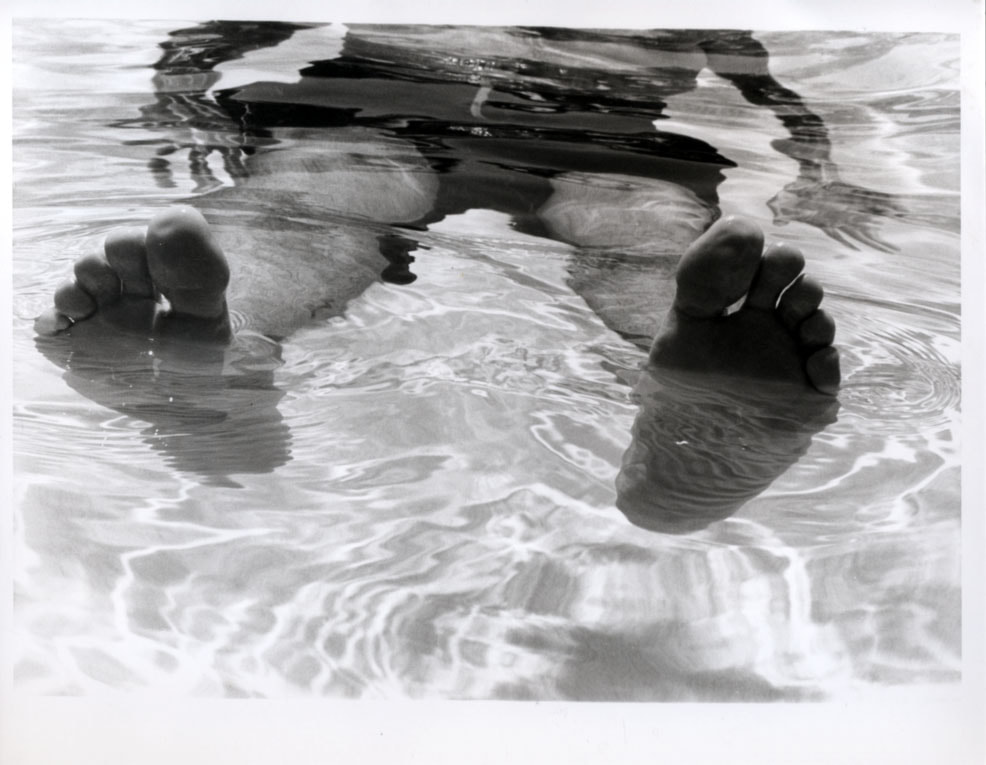
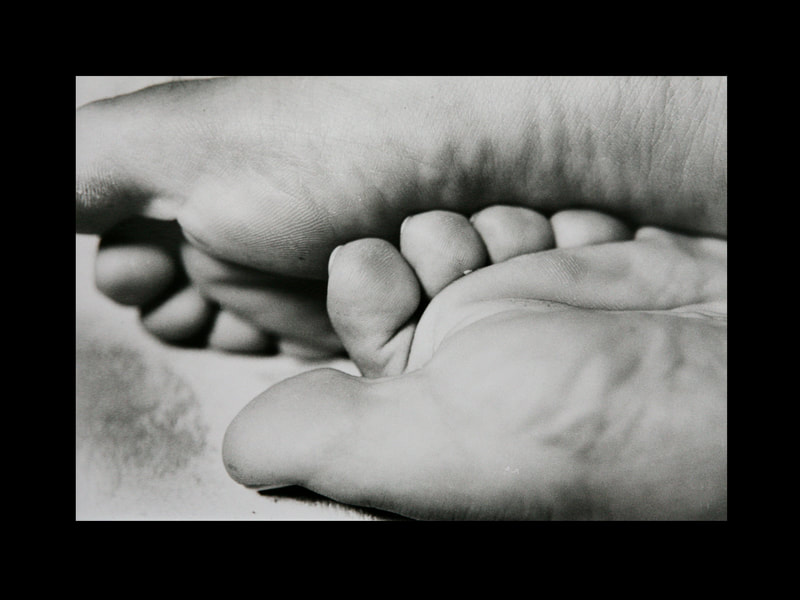
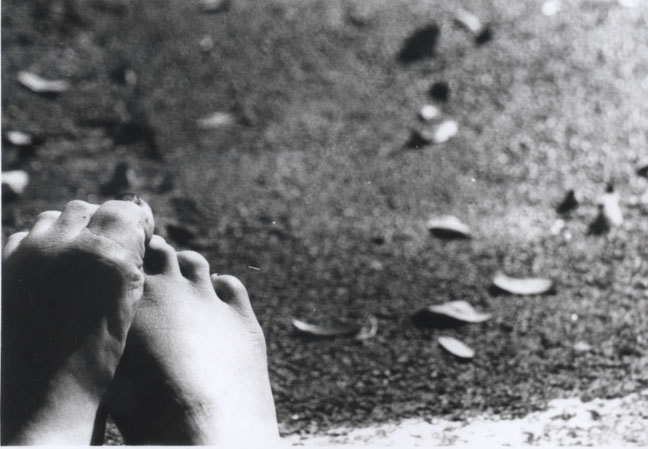
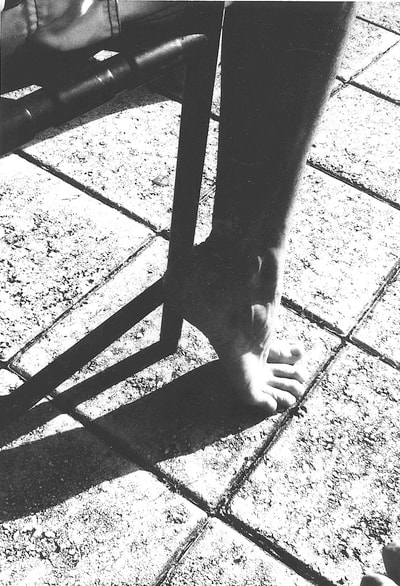
2. Feet/Shoes (4 works)
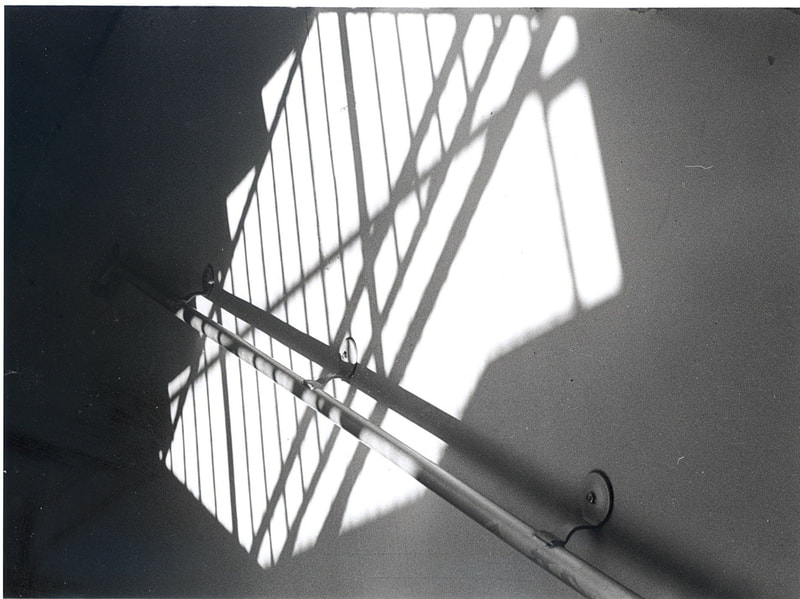
3. Geometric Shadows/Forms (four works)
4. Organic Forms and/or Texture (four works)
5. White on white/eggs (four works)
6. Lines (four works)
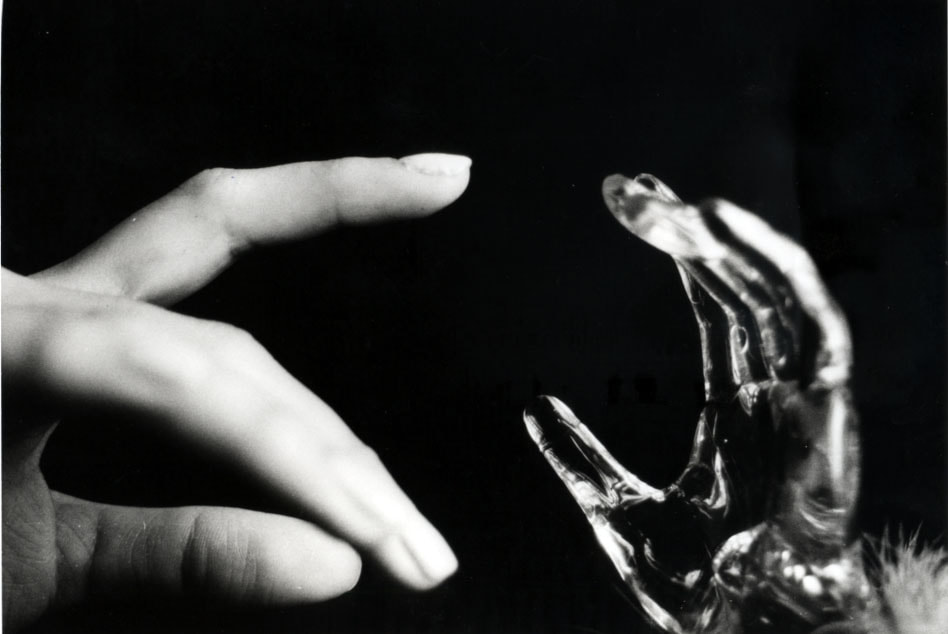
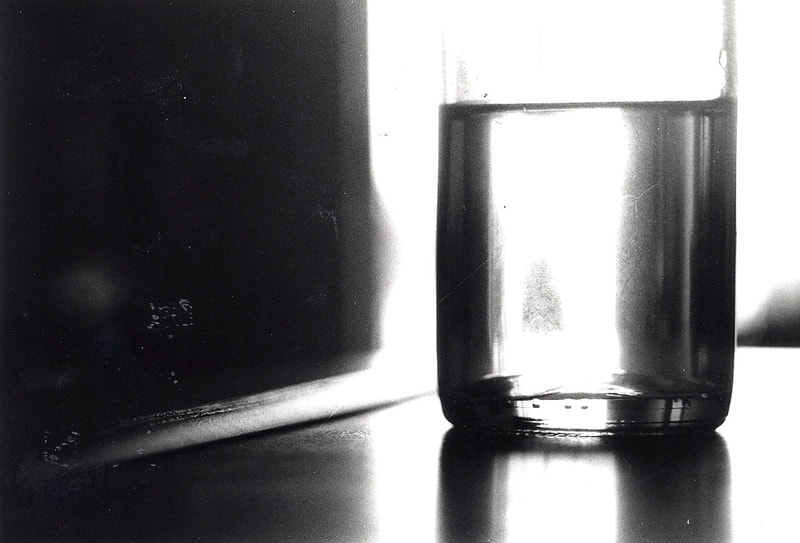
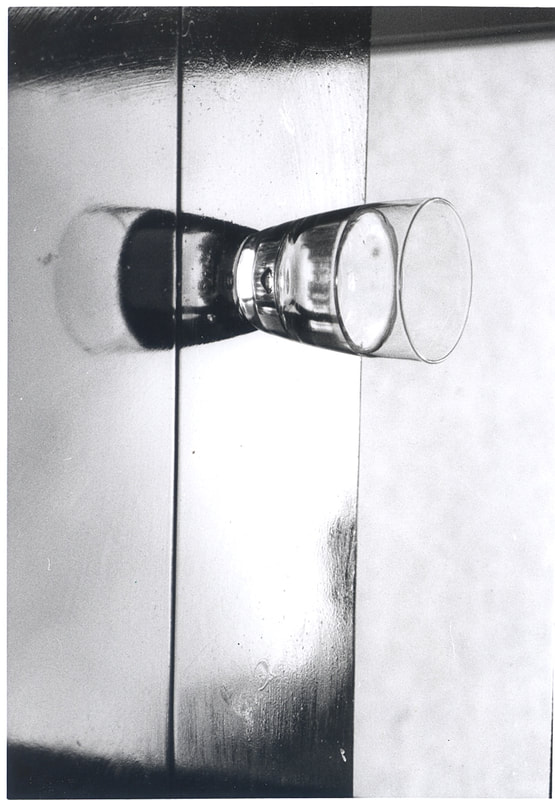
7. Glass/transparency (four works)
8. Remainder of photos is your choice
You will turn in darkroom contact sheet to receive credit. We will have a class critique on the prints to help you determine which compositions work best in regard to the rule of thirds and how to photograph your subject with more interesting view points to attract viewers to your compositions.
Print one 8" x 10" of each of your best FOUR photos for your portfolio.
You should compose each picture so that its parts work together to create a work of beauty. Each item in a picture has an effect on the whole, so don’t just point and shoot. Take a little time to compose each picture into the masterpiece it could be. Remember that you are trying to develop mastery in concept composition as well as in technique.
The challenge is to compose by controlling how the subject is seen and what emotions are felt by the viewer. This is done through composition—the relationship of the elements in an image with each other and with the frame. You know that good feeling you get when you snap a great shot? Well, just follow these guidelines, and you’ll start to see things differently through the viewfinder—and take great shots more often. Take a little time to compose each picture into the masterpiece it could be. Remember that you are trying to develop mastery in concept composition as well as in technique.
Visit various sites and make notes in your journal about each topic. Include one image to illustrate each of the guidelines listed below. If one of your photos fits—then use that as your image.
1. Be a picture director
Take an extra minute to compose your photograph so that the reason you are taking it is clearly evident. Control your canvas by moving subjects, props, or your angle to add context and see things in a better way.
2. Focus on good stuff/ eliminate unimportant
Don’t include too much. Extra elements can confuse things. Strengthen your subject by eliminating all unimportant components and background clutter.
3. Choosing a main point of interest
4. Experiment with Different Vantage Points (Angles of View)
Experiment with different angles. Eye level is great for a lot of shots. But if you want more from your photos, you have to explore. Get close and fill the frame. Crouch down and shoot up at your subject or shoot along the floor. Get up on a chair or table and shoot from above. Just be careful or you might be icing your ankle while viewing the results.
5. Placing the subject off-center or follow the Rule of Thirds.
Placing the subject in the middle of the frame makes a picture more static and less interesting. Imagine a tic-tac-toe board over your viewfinder and position the subject toward one of the intersections. With landscapes, keep the horizon along the lower third to give a feeling of spaciousness. Position the horizon along the upper third to give a feeling of nearness or intimacy.
6. Using leading lines
Lines are everywhere around us. In people, trees, walls, shadows—you just have to look for them. These natural lines can strengthen composition by leading the viewer’s eyes toward your subject. Diagonal lines can add energy. Curved lines can add soft elegance. Using a road or path as a leading line can add depth.
7. Avoiding distracting backgrounds
Before you shoot, take a look around for an uncomplicated backdrop that complements the subject instead of competing with it. Beware of trees or poles sprouting from your subject's head. Even better: Find a background that draws the viewer's eye to the most important part of the picture.
8. Include foreground objects
Framing your subject with elements in the foreground can also add scale and depth to pictures. Overhanging tree branches, doorways, anything that covers at least two sides of the photo can give a three-dimensional effect that invites viewers into the image.
9. Go Vertical.
Rotate the camera 90 degrees to compare the different effects on composition, even when you might not think it necessary. A composition that naturally lends itself to horizontal can make a stunning vertical picture.
10. Framing - Watch the edge!
Place your subject close to the edge of the frame and experiment with radical crops. If your subject is in motion, give them plenty of space within the frame to move into.
11. Balance – Use Asymmetry & Geometry
Off-center subjects can be balanced on the opposite side of the frame with leading lines, shadows, and objects in the foreground or background.
Balance can also be achieved by creating simple geometric shapes. This makes images naturally easier to decipher and more pleasing to the eye. This photo is a good example of subjects creating a triangle, which brings strong balance and unity to the image.
12. Leave something to the imagination.
Sharp, detailed images are the norm. Purposely leave part of your main subject out of focus. Just focus on something in front of or far beyond the subject to create a dream-like effect.
Part 2: SKETCHBOOK
Find 2 examples for each of the items listed below and place in you journals.
- Hands (such as braiding hair, holding something, working on something)
- Feet/Shoes
- Geometric Shadows/Forms
- Organic Forms and/or Texture
- White on white/eggs
- Lines
- Glass/transparency
WHAT TO DO:
After reviewing the rule of thirds, composition guidelines and visiting various websites, you are to photograph the following (refer to examples you have found and placed in your sketchbook):
Plan Your Photo Composition (36 works): FILM
1. Hands (such as braiding hair, holding something, working on something) (four works)
2. Feet/Shoes (4 works)
3. Geometric Shadows/Forms (four works)
4. Organic Forms and/or Texture (four works)
5. White on white/eggs (four works)
6. Lines (four works)
7. Glass/transparency (four works)
8. Remainder of photos is your choice
You will turn in darkroom contact sheet to receive credit. We will have a class critique on the prints to help you determine which compositions work best in regard to the rule of thirds and how to photograph your subject with more interesting view points to attract viewers to your compositions.
Print one 8" x 10" of each of your best FOUR photos for your portfolio.
