PHOTOGRAM - THE DIGITAL VERSION
POSITIVE & NEGATIVE SPACE
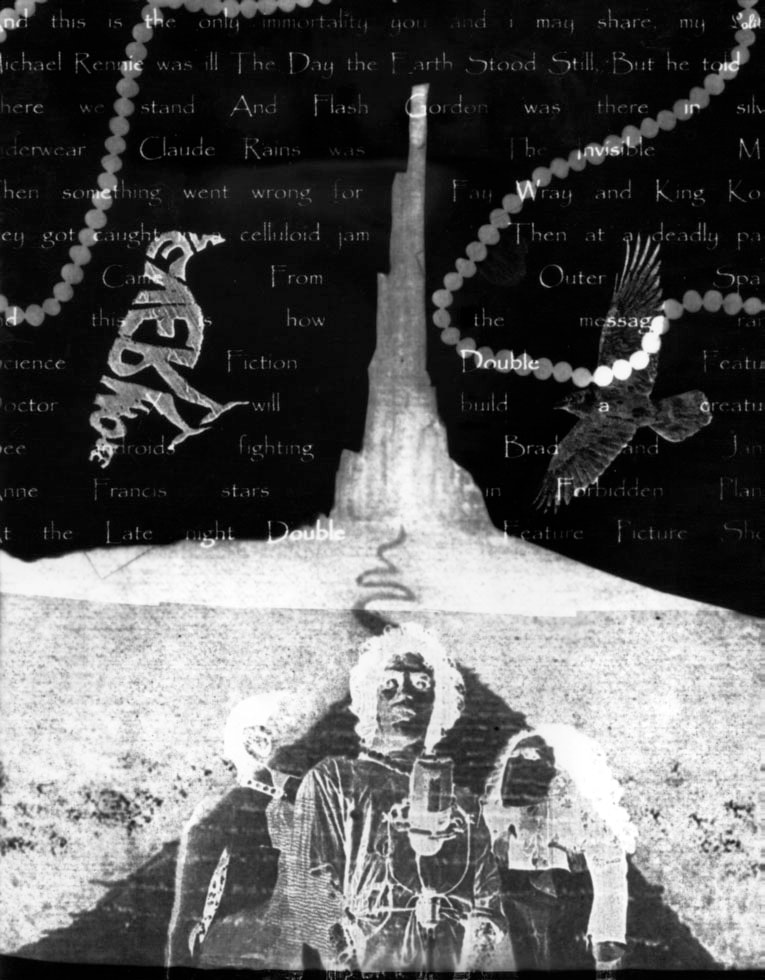
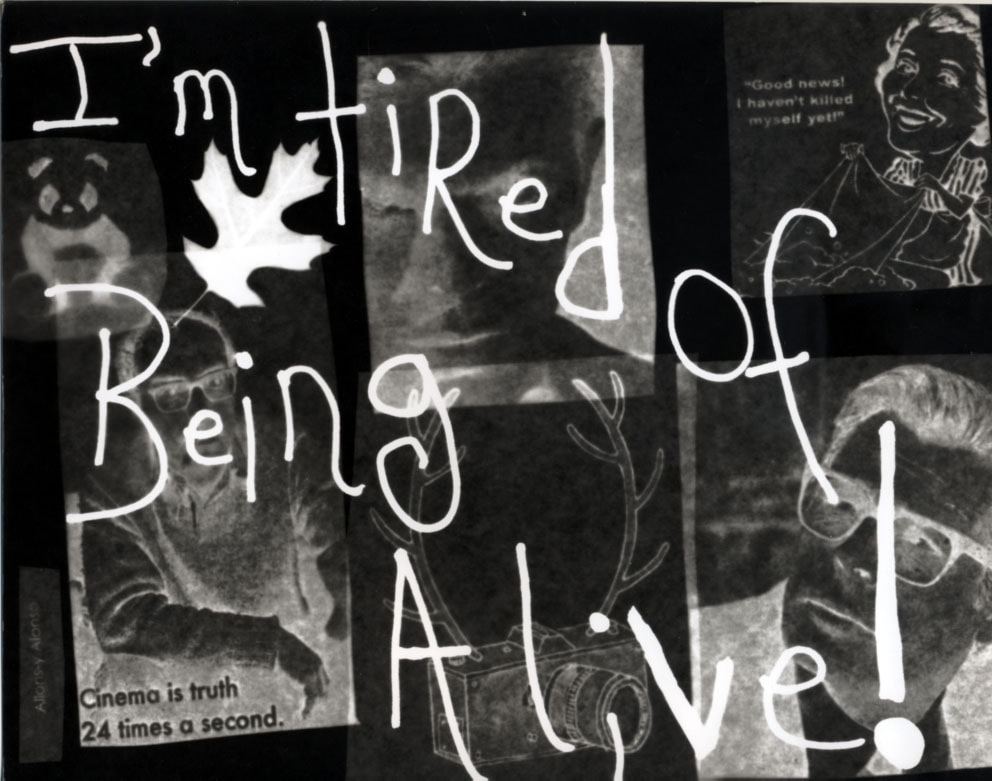
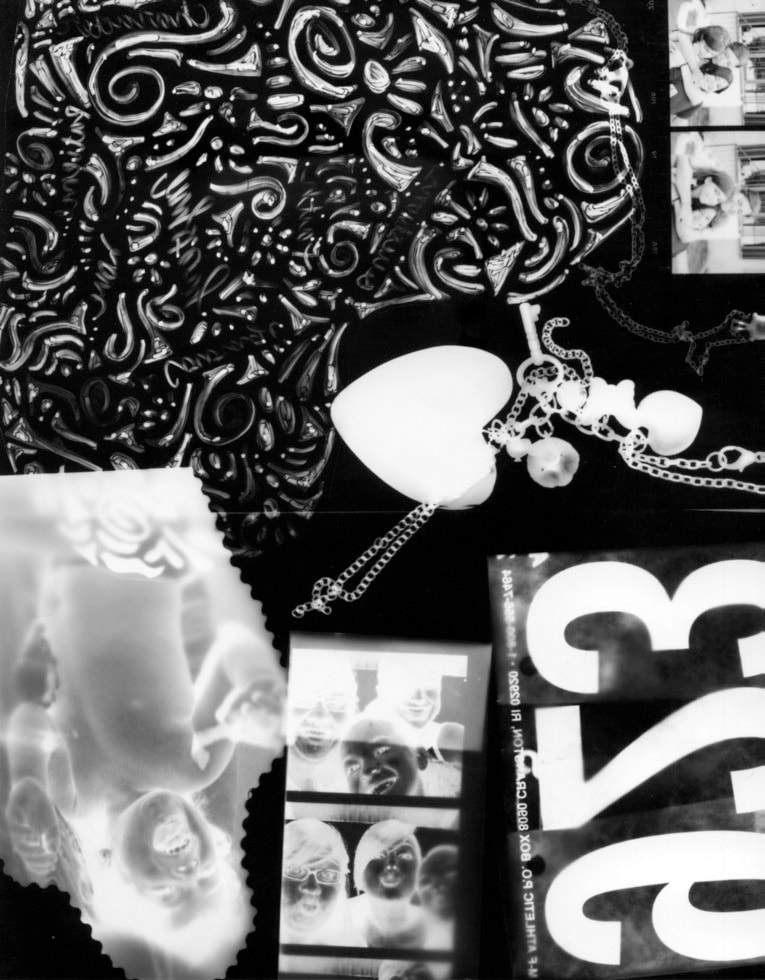
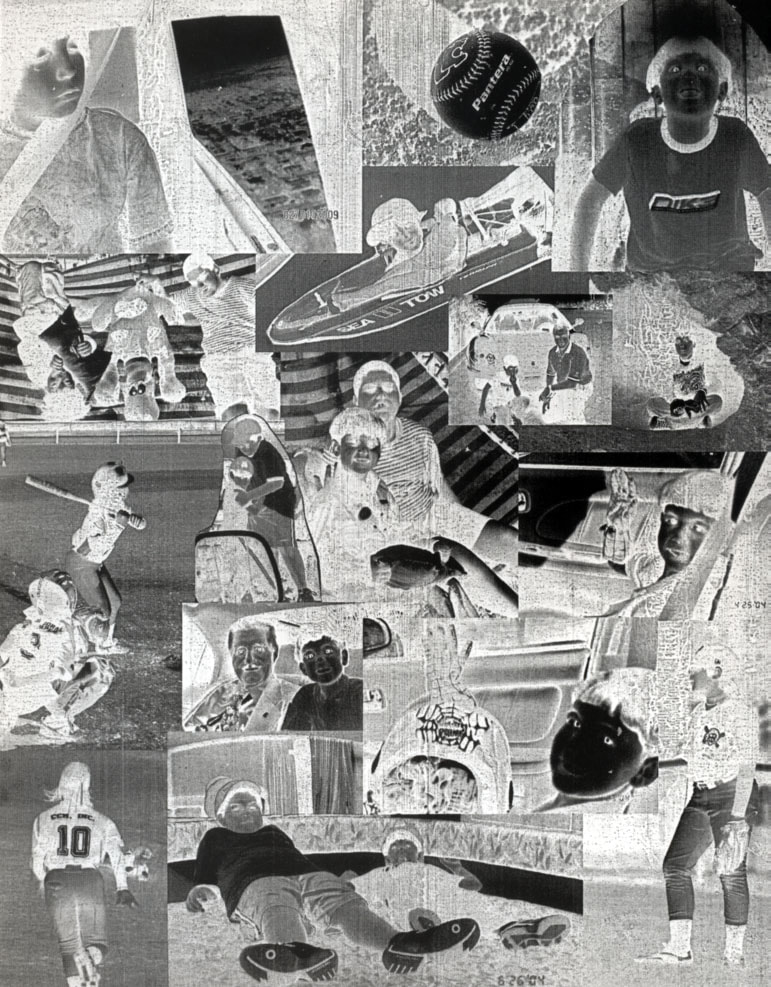
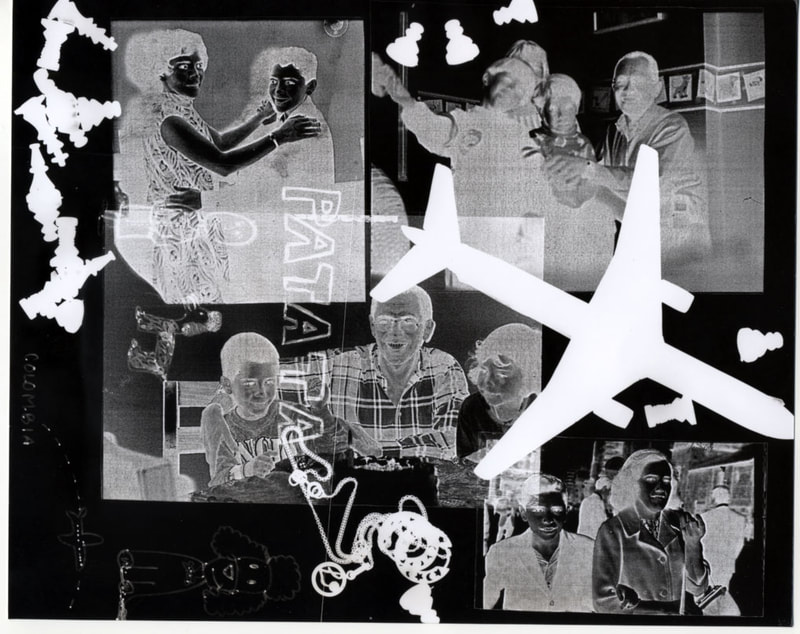
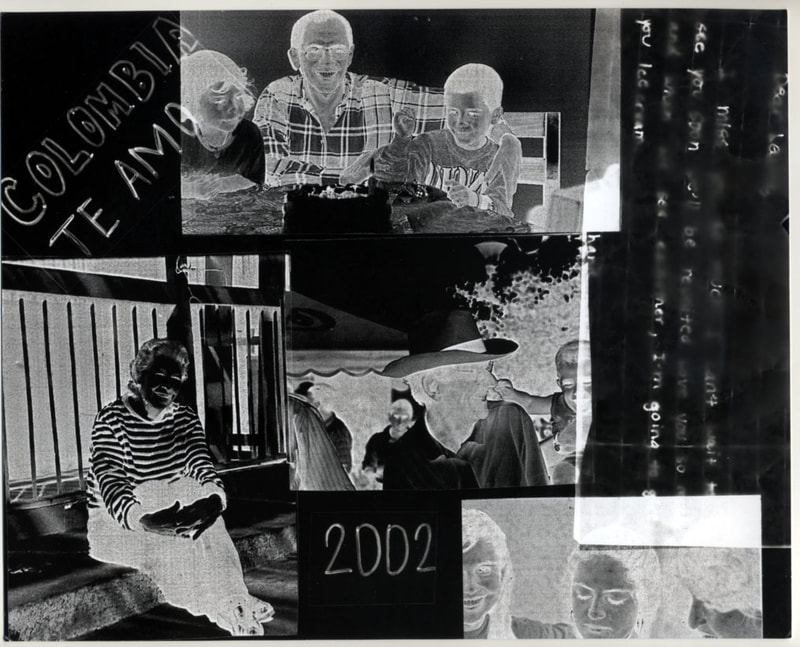
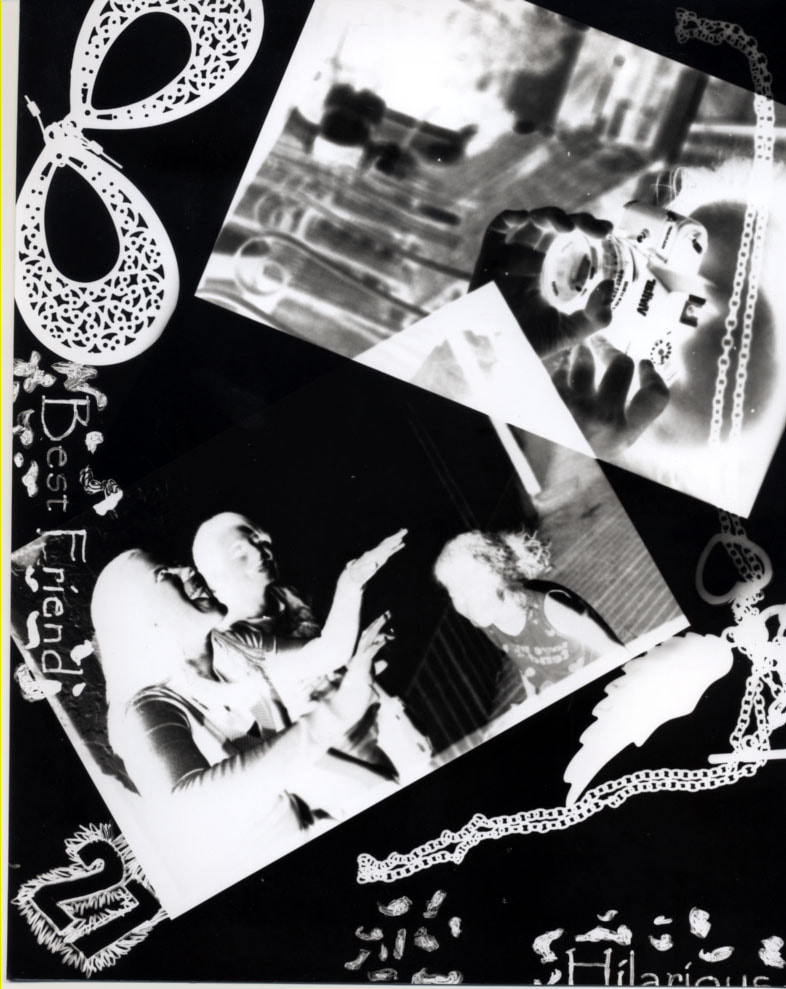
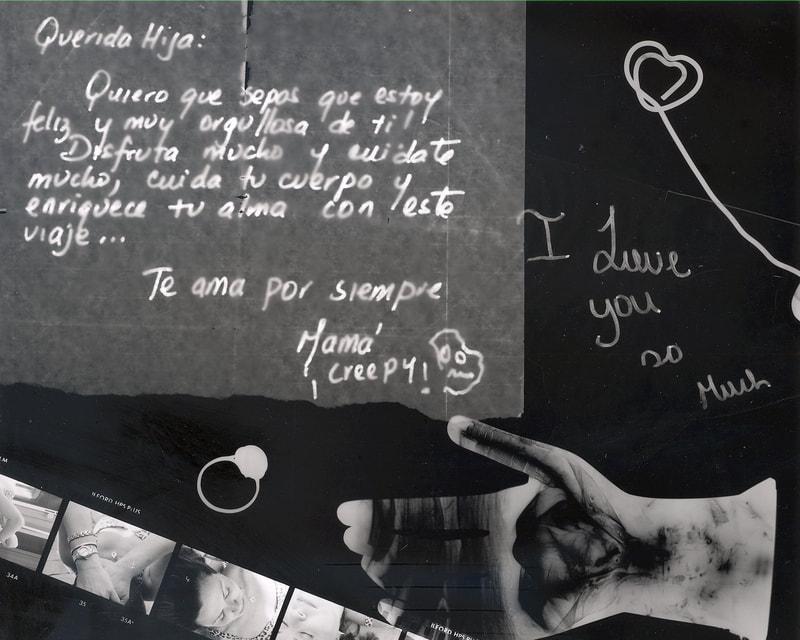
“A photogram is a contact print. It is made by placing something opaque or translucent on light sensitive material and then exposing it to light. This blocks out part of the light, and makes a pattern or picture on the light sensitive material when it is exposed to light and processed.”
A photogram is a photographic print made by laying objects onto photographic paper and exposing it to light.
Man Ray and Laszlo Moholy-Nagy were know for their photograms. Man Ray called the Rayographs.
A photogram is a photographic print made by laying objects onto photographic paper and exposing it to light.
Man Ray and Laszlo Moholy-Nagy were know for their photograms. Man Ray called the Rayographs.
WHAT TO DO:
Step 1: Choose some objects.
Since the theme is memoirs, you will collect small things, mementos, photographs, writings, etc.. Small things with interesting shapes are always good. In this method, we will be shining a light from underneath the objects, so semi-transparent things will also create an interesting effect.
Step 2: Find a blank, white screen or Scan your objects
If you're lucky enough to have a scanner, you can arrange your objects on a the bed of the scanner. You can experiment with a white or black cardboard on top of your objects.
If you do not have a scanner, use a light-box or an iPad or tablet, then you can use that. If you are using an iPad, you need to make it show a blank white screen. There are plenty of apps which will show you a blank screen, such as drawing apps where you can hide the tools, or apps which are made especially for making blank screens, such as "Color Fill". Alternatively, you can just look at a blank white image in your tablet's photo viewer.
Once your laptop or tablet is displaying a plain white background, position the screen so that it lies flat and face-up on a level surface. Place the sheet of white paper over the screen.
If you don't have an iPad or tablet, use a white paper, place it on a plexi or glass and shine a light underneath it.
Step 3: Arrange the objects on the screen or flatbed scanner.
Scanner: Arrange your objects on the flatbed of the scanner.
iPad or Tablet: Lay the tablet on a flat surface (I like to put mine on the floor because it makes it easier to take the pictures later) and place your chosen objects on it.
When arranging the objects, try to make it look as nice as possible.
Step 4: SNAP or SCAN!
Grab your camera or cell phone, switch off the lights and take a picture of the screen with the objects laid out on it. Try to take the picture directly from above so that the screen doesn't end up looking like a trapezium due to perspective (that's why having the tablet on the floor is a good idea), and focus the lens on a point where one of the objects is touching the screen. USE A TRIPOD!
TURN OFF THE LIGHTS AND DARKEN YOUR ROOM.
Do not use auto focus. If you are using your cell phone, tap on the screen to make sure your objects are focused.
In terms of camera settings, I set my camera to manual at f/4 at around 1/80th of a second. Set your ISO to 1600 and adjust the exposure compensation to +2. These settings may differ depending on your setup. To mimic the photogram effect, you want detail in the transparent areas of an object and considerable shadows in opaque areas. It can be difficult to get the balance right first go, so don’t be afraid to experiment with your camera settings.
Step 5: Process the photo.
PHOTOSHOP!
Once you have shot a range of images, it's time to Photoshop them. First, open an image and click on the Exposure Adjustment Layer. Set the exposure so that the background in the image is completely white. This will brighten your subject too. You can also do some cropping to eliminate any remnants of the laptop/tablet screen etc
Add the black and white adjustment layer. Play around with the filters to bring out details
Next, click on the Invert Adjustment Layer to invert your image. Then, select the Black and White Adjustment Layer.
Last, you add a Curves adjustment layer to darken your blacks, brighten your whites or bring out the detail in areas that were lost.
