- Home
-
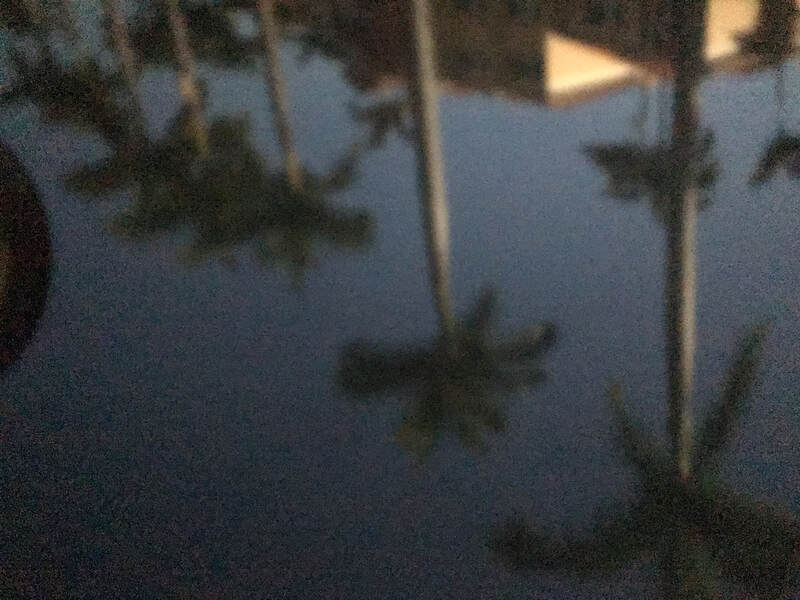
PHOTO 1
-
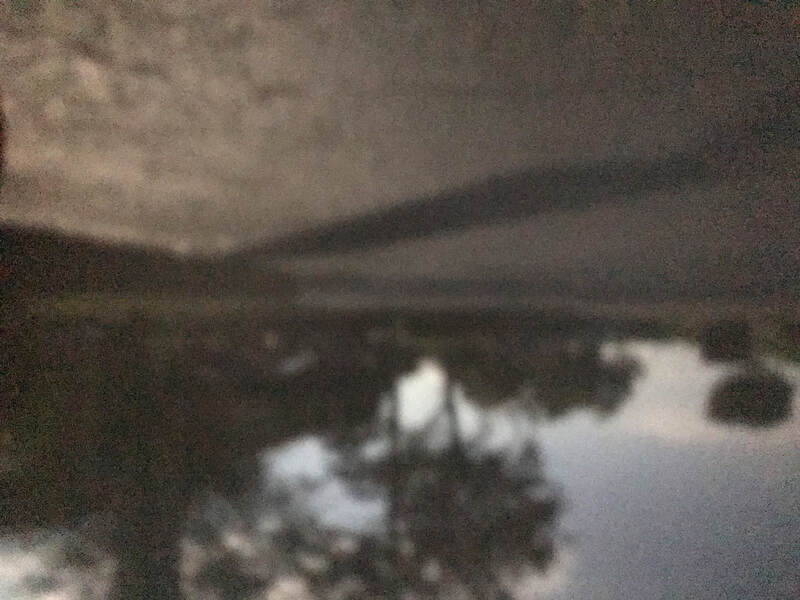
PHOTO 2
-
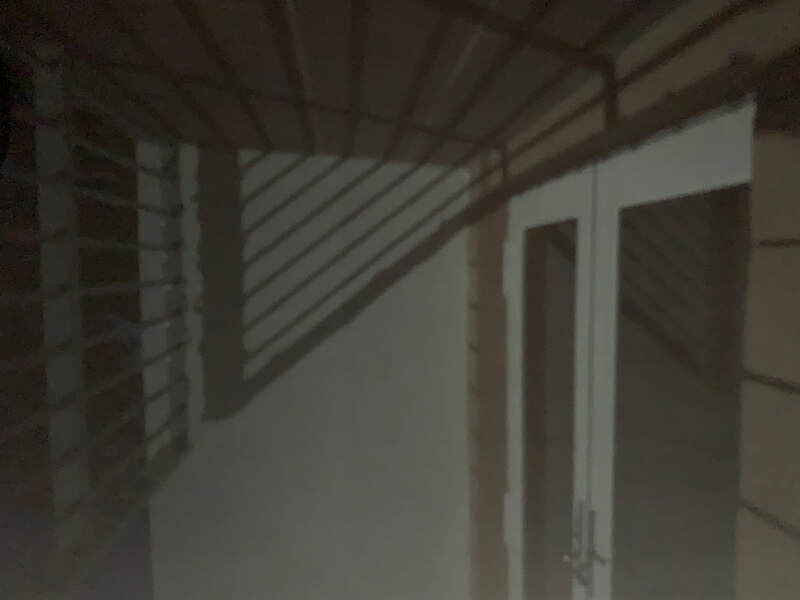
PHOTO 3
- INFO >
- CLASS NOTES
-
ASSIGNMENTS
>
- STUDIO LIGHTS
- Composing: Creating an Abstract or Geometric Composition
- Composing: Creating an Abstract or Geometric Composition
- EMPHASIS ON COLOR THEORY
- DESIGNING IN B&W
- Formal and Informal Portraits
- CUBIST PORTRAITS
- NATURAL LIGHTING
- COMPOSITION - SCAVENGER HUNT
- STREET PHOTOGRAPHY
- MANDALA
- NIGHT
- RHYTHM & REPETITION
- PATTERNS & RHYTHM WITH LIGHT
- STUDIO PORTRAITURE
- PHOTOGRAM - MEMOIRS - THE DIGITAL VERSION
- HDR Landscapes
- PORTFOLIO
- VIDEOS
- HANDOUTS
- GALLERY
-
AP 2D ART + DESIGN
- INFO >
- SUMMER PROJECT
- SUSTAINED INVESTIGATION
- ELEMENTS + PRINCIPLES
- STUDIO LIGHTS
-
ASSIGNMENTS
>
- DESIGNING IN B&W
- COLOR THEORY
- TRIPTYCH
- SUSTAINED INVESTIGATION #1
- SUSTAINED INVESTIGATION #2
- SUSTAINED INVESTIGATION #3
- SUSTAINED INVESTIGATION #4
- SUSTAINED INVESTIGATION #5
- SUSTAINED INVESTIGATION #6
- SUSTAINED INVESTIGATION #7
- SUSTAINED INVESTIGATION #8
- SUSTAINED INVESTIGATION #9
- SUSTAINED INVESTIGATION #10
- ABSTRACT & GEOMETRIC COMPOSITION
- STUDIO PORTRAITURE
- TEXTURES & ABSTRACTIONS FROM THE...
- WEBSITE PORTFOLIO
- CLASS NOTES
- HANDOUTS
- VIDEOS
- GALLERY
- 3D ART 1
- 3D ART 2
- 3D ART 3
- Contact
What is Pinhole Photography?
Pinhole photography is lensless photography. A tiny hole replaces the lens. Light passes through the hole; an image is formed in the camera.
Pinhole cameras can be small or large, improvised or designed with great care. Cameras have been made of oatmeal boxes, coke cans or cookie containers, shoe boxes, cans, etc... anything that can used as long as it is light tight and you can place a photo sensitive paper in, or a cell phone. Basically a pinhole camera is a box, with a tiny hole at one end and film or photographic paper at the
other.
Pinhole cameras are used for fun, for art and for science.
Characteristics
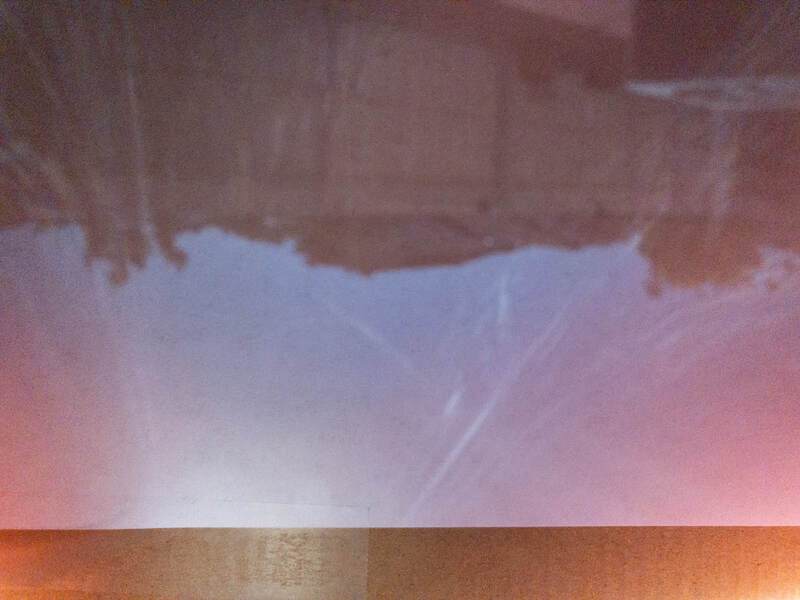
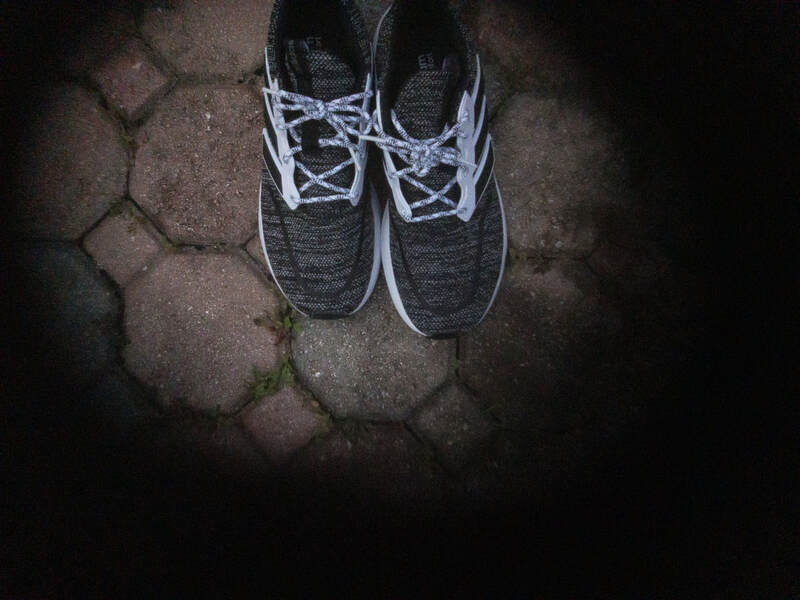
Pinhole images are softer – less sharp – than pictures made with a lens. The images have nearly infinite depth of field. Wide angle images remain absolutely rectilinear.
Exposures are long, ranging from half a second to several hours. Images are exposed on film or paper – negative or positive; black and white, or color.
|
|
|
WHAT TO DO:
- You are going to make your own pinhole camera. You can make it out of a cardboard box or a can. A box will be better for the phone. You are going to decorate you camera. You can paint it - wrap it.. it's completely up to you!
- Take photos while you are making the pinhole camera. Document the step by step process of you making the camera. Take a photo of the final product. Look at the various videos I have posted.
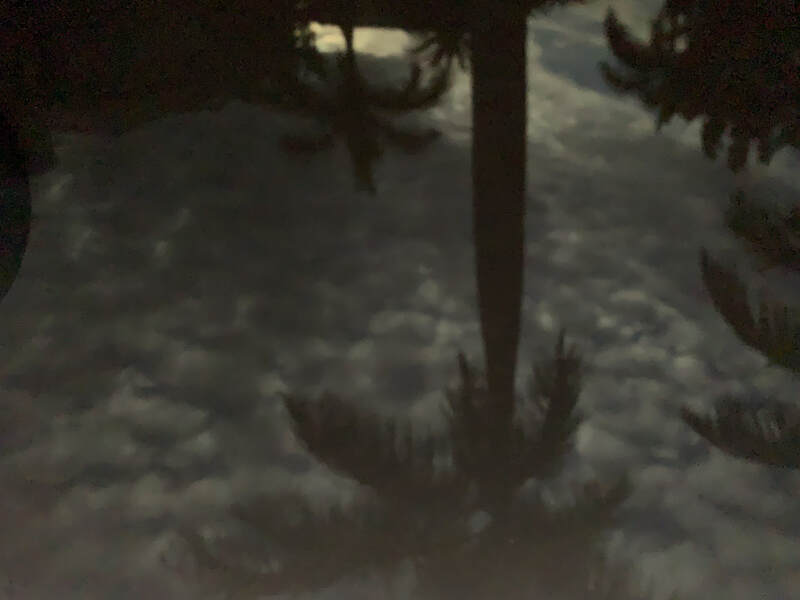
- Place your cell phone in your pinhole camera, and take a 20-30 second video. Walk around slowly. This must be done outside, unless it will not work.
- Take 5 different photos with your cell phone inside your pinhole camera. Use the 10 second self timer to give yourself time.
- Upload everything to your website. Write your reflection on this project. Minimum of 2 paragraphs. Publish!!!
WHAT TO TURN IN:
YOU WILL EDIT THE 5 IMAGES YOU TOOK WITH YOUR PINHOLE BOX.
UPLOAD YOUR VIDEO.
UPLOAD THE 5 PHOTOS AS A SLIDESHOW.
WRITE A MINIMUM OF A 2 PARAGRAPH REFLECTION FOR YOUR ASSIGNMENT.
YOU WILL EDIT THE 5 IMAGES YOU TOOK WITH YOUR PINHOLE BOX.
UPLOAD YOUR VIDEO.
UPLOAD THE 5 PHOTOS AS A SLIDESHOW.
WRITE A MINIMUM OF A 2 PARAGRAPH REFLECTION FOR YOUR ASSIGNMENT.
|
|
|
|
|
|
|
|
|
History
Early Observations and Experiments
The basic optical principles of the pinhole are commented on in Chinese texts from the fifth century BC. Chinese writers had discovered by experiments that light travels in straight lines. The philosopher Mo Ti (Mo Tzu, Lat. Micius) was the first – to our knowledge – to record the formation of an inverted image with a pinhole or screen. Mo Ti was aware that objects reflect light in all directions, and that rays from the top of an object, when passing through a hole, will produce the lower part of an image (Hammond 1981:1). According to Hammond, there is no further reference to the camera obscura in Chinese texts until the ninth century AD, when Tuan Chheng Shih refers to an image in a pagoda. Shen Kua later corrected his explanation of the image. Yu Chao-Lung in the tenth century used model pagodas to make pinhole images on a screen. However, no geometric theory on image formation resulted from these experiments and observations (Hammond 1981:2).
In the western hemisphere Aristotle (fourth century BC) comments on pinhole image formation in his work Problems. In Book XV, 6, he asks: “Why is it that when the sun passes through quadri-laterals, as for instance in wickerwork, it does not produce a figure rectangular in shape but circular? […]” In Book XV, 11, he asks further: “Why is it that an eclipse of the sun, if one looks at it through a sieve or through leaves, such as a plane-tree or other broadleaved tree, or if one joins the fingers of one hand over the fingers of the other, the rays are crescent-shaped where they reach the earth? Is it for the same reason as that when light shines through a rectangular peep-hole, it appears circular in the form of a cone? […]” (Aristotle 1936:333,341). Aristotle found no satisfactory explanation to his observation; the problem remained unresolved until the 16th century (Hammond 1981:5).
The Renaissance and Post-Renaissance
In the Renaissance and later centuries the pinhole was mainly used for scientific purposes in astronomy and, fitted with a lens, as a drawing aid for artists and amateur painters.
Leonardo da Vinci (1452–1519) describes pinhole image formation in his Codex Atlanticus (Vinci, Leonardo, Ambrosian Library, Milan, Italy, Recto A of Folio 337), and Manuscript D (Manuscript D, Vinci, Leonardo, Institut de France, Paris, Folio 8). These descriptions, however, would remain unknown until Venturi deciphered and published them in 1797. According to Kim H. Veltman there are no less than 270 diagrams of camera obscuras in Leonardo’s notebooks.
In 1475 the Renaissance mathematician and astronomer Paolo Toscanelli placed a bronze ring with an aperture in a window in the Cathedral of Florence, still in use today. On sunny days a solar image is projected through the hole onto the cathedral’s floor. At noon, the solar image bisects a “noon-mark” on the floor. The image and noon-mark were used for telling time (Renner 1995:6).
In 1580 papal astronomers used a pinhole and a similar noon-mark in the Vatican Observatory in Rome to prove to Pope Gregory XIII that the spring equinox fell incorrectly on 11 March rather than on 21 March. Two years later, after careful consideration, Pope Gregory XIII corrected the Julian calendar by 10 days, thus creating the Gregorian calendar (Renner 1995:7).
Giovanni Battista della Porta (1538–1615), a scientist from Naples, was long regarded as the inventor of the camera obscura because of his description of the pinhole (lensless) camera obscura in the first edition of his Magia naturalis (1558). His description has received much publicity, as did his camera obscura shows, but he was by no means the inventor.
The first published picture of a pinhole camera obscura is apparently a drawing in Gemma Frisius’ De Radio Astronomica et Geometrica (1545). Gemma Frisius, an astronomer, had used the pinhole in his darkened room to study the solar eclipse of 1544. The very term camera obscura (“dark room”) was coined by Johannes Kepler (1571–1630). At his time, the term had come to mean a room, tent or box with a lens aperture used by artists to draw a landscape. The lens made the image brighter and focused at a certain distance. (Adding a bi-convex lens to the camera obscura had been suggested by Girolamo Cardano in De subtilitate libri around 1550.) Thus this type of camera differed from the pinhole camera obscura used by Frisius in 1544. In the 1620s Johannes Kepler invented a portable camera obscura. Camera obscuras as drawing aids were soon found in many shapes and sizes. They were used by both artists and amateur painters.
During the 19th century several large scale camera obscuras were built as places of education and entertainment. The meniscus lens, superior to the bi-convex lens, improved the quality of the the projected images. Some buildings or towers with camera obscuras from this period remain today: The Camera Obscura at the Royal Mile, Edinburgh built in the 1850s; the 1836 camera obscura at Dumfries, Scotland; the Clifton Observatory at Bristol, England from 1828; the camera on the Mount Oybin in Germany, which dates back to 1852, and others. The camera obscura at Eger, Hungary, was opened around 1780 and is one of the oldest cameras obscuras that can still be visited in Europe. It got new optics in the 1850s and the 1960s, but the original mirror is still in use.
Quite a few room-sized camera obscuras have been built in the 20th century, for instance, the Eastbourne Pier camera obscura in East Sussex, Britain, which dates back to 1901; the Kirriemuir Camera Obscura, Scotland, built in 1929; the Giant Camera at Cliff House, San Francisco, constructed in 1948-49; the camera obscura at Santa Monica, California, established in 1955, with a mechanism from around 1900; the Torre Tavira camera obscura in Cádiz, Spain, which opened in 1994; the camera obscura at Castelo de São Jorge in Lisbon, inaugurated in 1998; the camera obscura at Plaza Vieja in Havana, Cuba, finished about the same time. The camera obscura installed in 1992 in the Broich Watertower in Mühlheim an der Ruhr in Germany claims to be the largest walk-in camera obscura in the world, whereas the camera obscura in Perdika (Aegina island), Greece, installed in a cylindrical WWII gun emplacement in 2003, claims to be the only camera obscura that produces a 360° panorama. The panorama is split up in twelve individual images, upside down and reversed, on a circular, semi-transparent screen, hanging down from the ceiling. One of the most beautiful modern architecture camera obscuras may be the camera obscura at Trondheim, Norway, which was opened in December 2006.
Cameras
Basically a pinhole camera is a light-tight box with a tiny hole in one end and film or photographic paper in the other. Several commercial cameras are available – e.g. the 4 x 5 Rigby camera, the 4 x 5 and 8 x 10 Leonardo Cameras, the the 4 x 5 and 8 x 10 Lenseless cameras, the Zero Image pinhole cameras (various formats), the Omniscope Anamorph, the Pinhole Blender, the Merlin cameras, and others. Most pinhole photographers, however, make their cameras themselves. The construction is simple. Commercial cameras in hardwood or metal tend to be expensive – some are very expensive – and usually they do not produce better images than a homebrew camera.
Pinhole cameras may differ with regard to (a) focal length, (b) pinhole diameter, (c) number of pinholes, (d) image format, (e) flat or curved film plane, (f) type of light-sensitive material, and (g) other characteristics.
(a) Strictly speaking pinhole cameras have no focal length. They have infinite depth of field. But for practical reasons the term “focal
length” is used here to refer to the distance between the pinhole and the film or paper. Pinhole cameras may have short, normal or long “focal lengths”; they may be anything from ultra wide-angle cameras to long telephoto cameras. It should be noted that as the focal length increases, the apertures decreases. In other words, exposure times get longer (see Formulas below). (The formula for calculating the f-stop is f = v/d, where f = aperture, v = distance from pinhole to film or paper, and d = pinhole diameter.)
Pinhole cameras produce fascinating wide-angle and ultra-wide angle images. Unlike lens photographs, ultra wide-angle images remain rectilinear. Straight lines are not curved at the periphery of the image.
Generally a smaller pinhole will produce a sharper image than a larger one. If the pinhole gets too small, the image becomes less sharp because of diffraction. See Formulas below.
Pinhole cameras have widely differing image formats. Cameras are made from match boxes, 35 mm film canisters, baking soda containers, oatmeal boxes, cookie tins, bags or suitcases, big wooden cases etc. Vans or station wagons have been used as pinhole cameras, and rooms in large buildings.
Most pinhole cameras, however, are made from an ordinary box or container, with a pinhole plate in one end and a simple mechanism for holding the paper or film in the other. Often the film or paper is just taped to the inside of the box. Many pinhole photographers start out with an “oatmeal box camera”, a camera made from a cylindrical container in
cardboard or metal.
A pinhole camera may have a flat or curved film or image plane. If the film plane is flat, there will be some light fall-off or
vignetting at the corners in a wide-angle or ultra wide-angle pinhole camera. The image may be overexposed at the center and underexposed at the corners. This vignetting, however, may be exploited consciously as an esthetic effect. If one wants to avoid the light fall-off, the film plane should be curved so that the film at any point is roughly at the same distance from the pinhole. A pinhole camera may be made from a round (“cookie”) container cut in two to form a semi-circular box.
With flat film planes a pinhole has a usable circular image of approx.125 degrees. The image diameter is about 3 1/2 times of any focal length. The image will fade towards the edges because of the increasing focal distance. With curved film planes a pinhole camera may have a larger circle of coverage (approximately 160 degrees).
Making a Pinhole Camera
The Pinhole
The most important part of a pinhole camera is the pinhole itself. Precision made pinholes may be bought. You will find a list of sources for pinhole sheets here. For most purposes, however, there is no reason why you should not make the pinhole yourself. The hole is made in a thin piece of metal or metal from the lid of small box or glass container (bought at a supermarket ). Some use aluminum foil from a disposable baking pan. Ordinary aluminum foil is too thin.
If the metal is taken from a container lid, it should be sanded carefully to remove any paint or varnish and to make it thinner. The hole is made with a needle. The edge of the hole should be sharp. The optimal diameter depends on the focal length of the camera, i.e. the distance from the pinhole to the film or photographic paper. Some formulas and charts are reproduced below. In general: the smaller the hole, the sharper the image. If the hole is too small, however, the image gets less sharp because of diffraction effects (light is bent around the edge of the pinhole).
Place the piece of metal on top of some hard cardboard. Carefully poke a hole with a needle taking care that the hole is as round as possible. The needle may be put through a cork to make it easier to handle. Or you may put masking tape on the head of the needle. Hold the needle steadily in a 90 degree angle to the surface. Turn the piece of metal and sand the back side carefully with fine-grained emery paper to remove the burr or debris where the needle point has penetrated. (The edges of the pinhole should be sharp). Then place the metal on the cardboard back side up and cautiously spin the needle in the hole to make sure the hole is round.
Can Cameras
Pinhole cameras can be made of many kinds of light-tight containers. A cylindrical cardboard container, e.g. an oatmeal box or a herb tea container.
A box camera for photographic paper can be made of a light-tight cardboard box.
Shutters for Pinhole Cameras
I usually use a piece of opaque plastic or a piece of cardboard, attached to the camera with tape, for a shutter. It may not be a very elegant solution, but it is very practical.
Early Observations and Experiments
The basic optical principles of the pinhole are commented on in Chinese texts from the fifth century BC. Chinese writers had discovered by experiments that light travels in straight lines. The philosopher Mo Ti (Mo Tzu, Lat. Micius) was the first – to our knowledge – to record the formation of an inverted image with a pinhole or screen. Mo Ti was aware that objects reflect light in all directions, and that rays from the top of an object, when passing through a hole, will produce the lower part of an image (Hammond 1981:1). According to Hammond, there is no further reference to the camera obscura in Chinese texts until the ninth century AD, when Tuan Chheng Shih refers to an image in a pagoda. Shen Kua later corrected his explanation of the image. Yu Chao-Lung in the tenth century used model pagodas to make pinhole images on a screen. However, no geometric theory on image formation resulted from these experiments and observations (Hammond 1981:2).
In the western hemisphere Aristotle (fourth century BC) comments on pinhole image formation in his work Problems. In Book XV, 6, he asks: “Why is it that when the sun passes through quadri-laterals, as for instance in wickerwork, it does not produce a figure rectangular in shape but circular? […]” In Book XV, 11, he asks further: “Why is it that an eclipse of the sun, if one looks at it through a sieve or through leaves, such as a plane-tree or other broadleaved tree, or if one joins the fingers of one hand over the fingers of the other, the rays are crescent-shaped where they reach the earth? Is it for the same reason as that when light shines through a rectangular peep-hole, it appears circular in the form of a cone? […]” (Aristotle 1936:333,341). Aristotle found no satisfactory explanation to his observation; the problem remained unresolved until the 16th century (Hammond 1981:5).
The Renaissance and Post-Renaissance
In the Renaissance and later centuries the pinhole was mainly used for scientific purposes in astronomy and, fitted with a lens, as a drawing aid for artists and amateur painters.
Leonardo da Vinci (1452–1519) describes pinhole image formation in his Codex Atlanticus (Vinci, Leonardo, Ambrosian Library, Milan, Italy, Recto A of Folio 337), and Manuscript D (Manuscript D, Vinci, Leonardo, Institut de France, Paris, Folio 8). These descriptions, however, would remain unknown until Venturi deciphered and published them in 1797. According to Kim H. Veltman there are no less than 270 diagrams of camera obscuras in Leonardo’s notebooks.
- Kim H. Veltman: Leonardo and the Camera Obscura
- Leonardo da Vinci: The function of the eye as explained by the camera obscura (Richter, 1880: Notebooks 70)
- Leonardo da Vinci: The function of the eye as explained by the camera obscura (Richter, 1880: Notebooks 71)
In 1475 the Renaissance mathematician and astronomer Paolo Toscanelli placed a bronze ring with an aperture in a window in the Cathedral of Florence, still in use today. On sunny days a solar image is projected through the hole onto the cathedral’s floor. At noon, the solar image bisects a “noon-mark” on the floor. The image and noon-mark were used for telling time (Renner 1995:6).
In 1580 papal astronomers used a pinhole and a similar noon-mark in the Vatican Observatory in Rome to prove to Pope Gregory XIII that the spring equinox fell incorrectly on 11 March rather than on 21 March. Two years later, after careful consideration, Pope Gregory XIII corrected the Julian calendar by 10 days, thus creating the Gregorian calendar (Renner 1995:7).
Giovanni Battista della Porta (1538–1615), a scientist from Naples, was long regarded as the inventor of the camera obscura because of his description of the pinhole (lensless) camera obscura in the first edition of his Magia naturalis (1558). His description has received much publicity, as did his camera obscura shows, but he was by no means the inventor.
The first published picture of a pinhole camera obscura is apparently a drawing in Gemma Frisius’ De Radio Astronomica et Geometrica (1545). Gemma Frisius, an astronomer, had used the pinhole in his darkened room to study the solar eclipse of 1544. The very term camera obscura (“dark room”) was coined by Johannes Kepler (1571–1630). At his time, the term had come to mean a room, tent or box with a lens aperture used by artists to draw a landscape. The lens made the image brighter and focused at a certain distance. (Adding a bi-convex lens to the camera obscura had been suggested by Girolamo Cardano in De subtilitate libri around 1550.) Thus this type of camera differed from the pinhole camera obscura used by Frisius in 1544. In the 1620s Johannes Kepler invented a portable camera obscura. Camera obscuras as drawing aids were soon found in many shapes and sizes. They were used by both artists and amateur painters.
- Camera obscura – a basic sketch
- Photo of camera obscura, Science Museum, London
- Camera obscuras at the Museum of the History of Science, Oxford
- Open Digital Library: Camera Obscura (image collection, bibliography, electronic texts)
- Sir Joshua Reynolds’s collapsable camera obscura (Science & Society Picture Library)
- Four drawings by Canaletto of Campo San Giovanni e Paolo in Venice, made with the aid of a camera obscura
- Canaletto’s camera obscura (Open Digital Library)
- The Camera Obscura : Its Uses, Action, and Construction (H.C. Standage, Amateur Work Illustrated, ol. IV, 1885. [brightbites.com])
- Wolfgang Lefèvre (ed.): Inside the Camera Obscura – Optics and Art
under the Spell of the Projected Image [pdf]
During the 19th century several large scale camera obscuras were built as places of education and entertainment. The meniscus lens, superior to the bi-convex lens, improved the quality of the the projected images. Some buildings or towers with camera obscuras from this period remain today: The Camera Obscura at the Royal Mile, Edinburgh built in the 1850s; the 1836 camera obscura at Dumfries, Scotland; the Clifton Observatory at Bristol, England from 1828; the camera on the Mount Oybin in Germany, which dates back to 1852, and others. The camera obscura at Eger, Hungary, was opened around 1780 and is one of the oldest cameras obscuras that can still be visited in Europe. It got new optics in the 1850s and the 1960s, but the original mirror is still in use.
Quite a few room-sized camera obscuras have been built in the 20th century, for instance, the Eastbourne Pier camera obscura in East Sussex, Britain, which dates back to 1901; the Kirriemuir Camera Obscura, Scotland, built in 1929; the Giant Camera at Cliff House, San Francisco, constructed in 1948-49; the camera obscura at Santa Monica, California, established in 1955, with a mechanism from around 1900; the Torre Tavira camera obscura in Cádiz, Spain, which opened in 1994; the camera obscura at Castelo de São Jorge in Lisbon, inaugurated in 1998; the camera obscura at Plaza Vieja in Havana, Cuba, finished about the same time. The camera obscura installed in 1992 in the Broich Watertower in Mühlheim an der Ruhr in Germany claims to be the largest walk-in camera obscura in the world, whereas the camera obscura in Perdika (Aegina island), Greece, installed in a cylindrical WWII gun emplacement in 2003, claims to be the only camera obscura that produces a 360° panorama. The panorama is split up in twelve individual images, upside down and reversed, on a circular, semi-transparent screen, hanging down from the ceiling. One of the most beautiful modern architecture camera obscuras may be the camera obscura at Trondheim, Norway, which was opened in December 2006.
- Stephen Berkman’s Wondering Eye and other artistic camera obscuras
- Nilu Uzadi’s walk-in camera obscuras (temporary or permanent)
Cameras
Basically a pinhole camera is a light-tight box with a tiny hole in one end and film or photographic paper in the other. Several commercial cameras are available – e.g. the 4 x 5 Rigby camera, the 4 x 5 and 8 x 10 Leonardo Cameras, the the 4 x 5 and 8 x 10 Lenseless cameras, the Zero Image pinhole cameras (various formats), the Omniscope Anamorph, the Pinhole Blender, the Merlin cameras, and others. Most pinhole photographers, however, make their cameras themselves. The construction is simple. Commercial cameras in hardwood or metal tend to be expensive – some are very expensive – and usually they do not produce better images than a homebrew camera.
Pinhole cameras may differ with regard to (a) focal length, (b) pinhole diameter, (c) number of pinholes, (d) image format, (e) flat or curved film plane, (f) type of light-sensitive material, and (g) other characteristics.
(a) Strictly speaking pinhole cameras have no focal length. They have infinite depth of field. But for practical reasons the term “focal
length” is used here to refer to the distance between the pinhole and the film or paper. Pinhole cameras may have short, normal or long “focal lengths”; they may be anything from ultra wide-angle cameras to long telephoto cameras. It should be noted that as the focal length increases, the apertures decreases. In other words, exposure times get longer (see Formulas below). (The formula for calculating the f-stop is f = v/d, where f = aperture, v = distance from pinhole to film or paper, and d = pinhole diameter.)
Pinhole cameras produce fascinating wide-angle and ultra-wide angle images. Unlike lens photographs, ultra wide-angle images remain rectilinear. Straight lines are not curved at the periphery of the image.
Generally a smaller pinhole will produce a sharper image than a larger one. If the pinhole gets too small, the image becomes less sharp because of diffraction. See Formulas below.
Pinhole cameras have widely differing image formats. Cameras are made from match boxes, 35 mm film canisters, baking soda containers, oatmeal boxes, cookie tins, bags or suitcases, big wooden cases etc. Vans or station wagons have been used as pinhole cameras, and rooms in large buildings.
Most pinhole cameras, however, are made from an ordinary box or container, with a pinhole plate in one end and a simple mechanism for holding the paper or film in the other. Often the film or paper is just taped to the inside of the box. Many pinhole photographers start out with an “oatmeal box camera”, a camera made from a cylindrical container in
cardboard or metal.
A pinhole camera may have a flat or curved film or image plane. If the film plane is flat, there will be some light fall-off or
vignetting at the corners in a wide-angle or ultra wide-angle pinhole camera. The image may be overexposed at the center and underexposed at the corners. This vignetting, however, may be exploited consciously as an esthetic effect. If one wants to avoid the light fall-off, the film plane should be curved so that the film at any point is roughly at the same distance from the pinhole. A pinhole camera may be made from a round (“cookie”) container cut in two to form a semi-circular box.
With flat film planes a pinhole has a usable circular image of approx.125 degrees. The image diameter is about 3 1/2 times of any focal length. The image will fade towards the edges because of the increasing focal distance. With curved film planes a pinhole camera may have a larger circle of coverage (approximately 160 degrees).
Making a Pinhole Camera
The Pinhole
The most important part of a pinhole camera is the pinhole itself. Precision made pinholes may be bought. You will find a list of sources for pinhole sheets here. For most purposes, however, there is no reason why you should not make the pinhole yourself. The hole is made in a thin piece of metal or metal from the lid of small box or glass container (bought at a supermarket ). Some use aluminum foil from a disposable baking pan. Ordinary aluminum foil is too thin.
If the metal is taken from a container lid, it should be sanded carefully to remove any paint or varnish and to make it thinner. The hole is made with a needle. The edge of the hole should be sharp. The optimal diameter depends on the focal length of the camera, i.e. the distance from the pinhole to the film or photographic paper. Some formulas and charts are reproduced below. In general: the smaller the hole, the sharper the image. If the hole is too small, however, the image gets less sharp because of diffraction effects (light is bent around the edge of the pinhole).
Place the piece of metal on top of some hard cardboard. Carefully poke a hole with a needle taking care that the hole is as round as possible. The needle may be put through a cork to make it easier to handle. Or you may put masking tape on the head of the needle. Hold the needle steadily in a 90 degree angle to the surface. Turn the piece of metal and sand the back side carefully with fine-grained emery paper to remove the burr or debris where the needle point has penetrated. (The edges of the pinhole should be sharp). Then place the metal on the cardboard back side up and cautiously spin the needle in the hole to make sure the hole is round.
Can Cameras
Pinhole cameras can be made of many kinds of light-tight containers. A cylindrical cardboard container, e.g. an oatmeal box or a herb tea container.
- Spray the insides of the box (including the lid), and the outsides of the cardboard film holder, with flat black spray paint. Make sure the lid is not translucent. If necessary glue some black plastic lining or cardboard to the lid to make it opaque.
- Make a hole in the front of the box. The “optical axis” should extend to the center of the window in the film holder – provided you are not looking for special off-center effects.
- Then make the pinhole plate.
- Tape the pinhole plate to the front of the cylindrical box.
- Make a simple shutter by taping a flap of black plastic over the pinhole, e.g. plastic from a photographic paper package. The flap may be held in place by tape and a rubber string. When you take a picture you remove the string, open the flap for the necessary exposure and close it.
- If you want a tripod mount or socket for your camera, use some araldite to glue a 1/4″ or 3/8″ nut to the bottom of the box.
- Since this camera has to be loaded in the darkroom, it will be practical to make several cameras. The cameras are easily carried in a bag.
- If you want a curved film plane for your camera, the cardboard film holder is left out. Film or paper is taped to the inside of the camera.
A box camera for photographic paper can be made of a light-tight cardboard box.
Shutters for Pinhole Cameras
I usually use a piece of opaque plastic or a piece of cardboard, attached to the camera with tape, for a shutter. It may not be a very elegant solution, but it is very practical.
