- Home
-
PHOTO 1
-
PHOTO 2
-
PHOTO 3
- INFO >
- CLASS NOTES
-
ASSIGNMENTS
>
- STUDIO LIGHTS
- Composing: Creating an Abstract or Geometric Composition
- Composing: Creating an Abstract or Geometric Composition
- EMPHASIS ON COLOR THEORY
- DESIGNING IN B&W
- Formal and Informal Portraits
- CUBIST PORTRAITS
- NATURAL LIGHTING
- COMPOSITION - SCAVENGER HUNT
- STREET PHOTOGRAPHY
- MANDALA
- NIGHT
- RHYTHM & REPETITION
- PATTERNS & RHYTHM WITH LIGHT
- STUDIO PORTRAITURE
- PHOTOGRAM - MEMOIRS - THE DIGITAL VERSION
- HDR Landscapes
- PORTFOLIO
- VIDEOS
- HANDOUTS
- GALLERY
-
AP 2D ART + DESIGN
- INFO >
- SUMMER PROJECT
- SUSTAINED INVESTIGATION
- ELEMENTS + PRINCIPLES
- STUDIO LIGHTS
-
ASSIGNMENTS
>
- DESIGNING IN B&W
- COLOR THEORY
- TRIPTYCH
- SUSTAINED INVESTIGATION #1
- SUSTAINED INVESTIGATION #2
- SUSTAINED INVESTIGATION #3
- SUSTAINED INVESTIGATION #4
- SUSTAINED INVESTIGATION #5
- SUSTAINED INVESTIGATION #6
- SUSTAINED INVESTIGATION #7
- SUSTAINED INVESTIGATION #8
- SUSTAINED INVESTIGATION #9
- SUSTAINED INVESTIGATION #10
- ABSTRACT & GEOMETRIC COMPOSITION
- STUDIO PORTRAITURE
- TEXTURES & ABSTRACTIONS FROM THE...
- WEBSITE PORTFOLIO
- CLASS NOTES
- HANDOUTS
- VIDEOS
- GALLERY
- 3D ART 1
- 3D ART 2
- 3D ART 3
- Contact
|
|
|
|
|
|
|
|
|
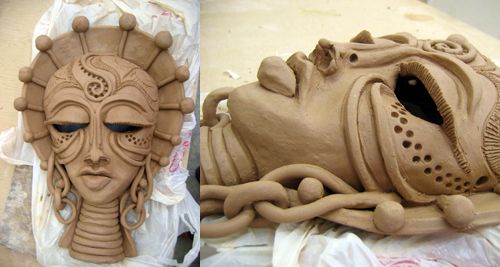
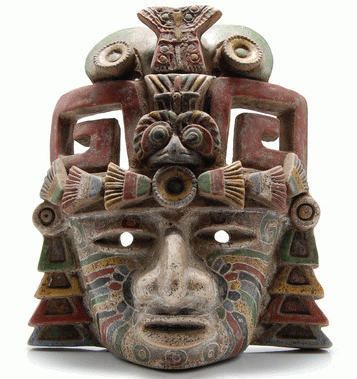
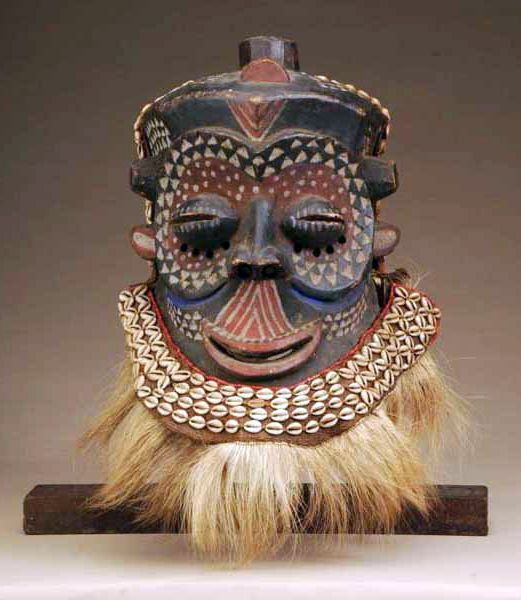
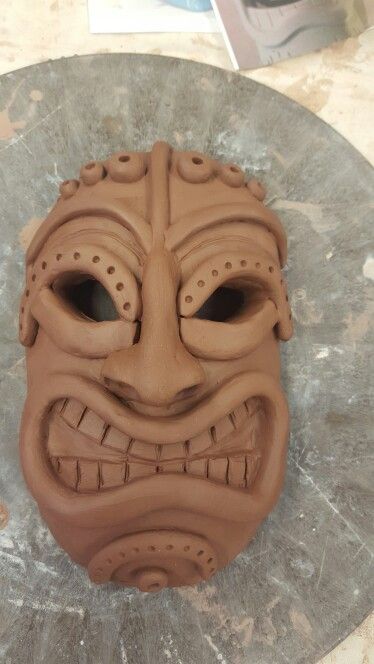
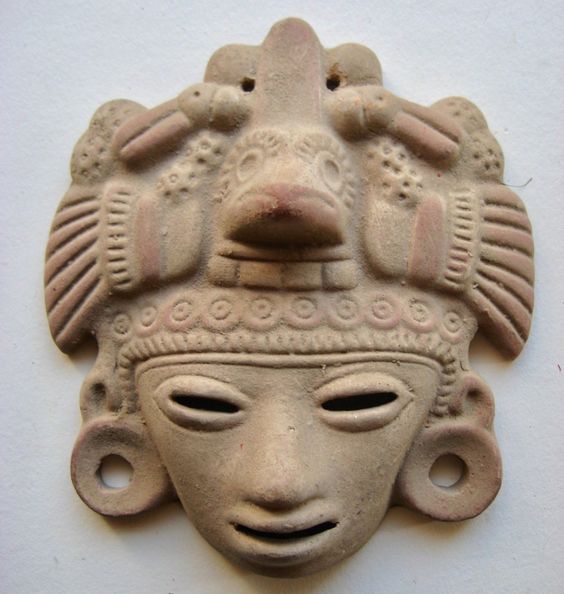
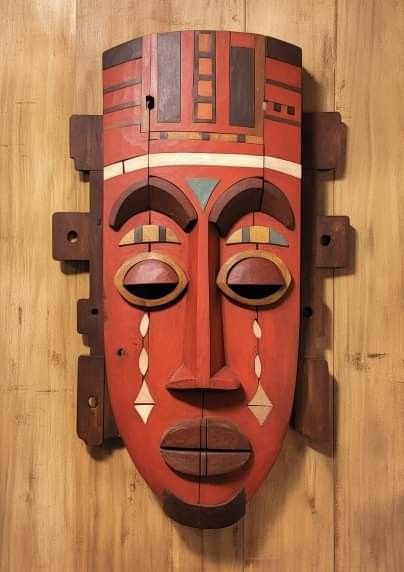
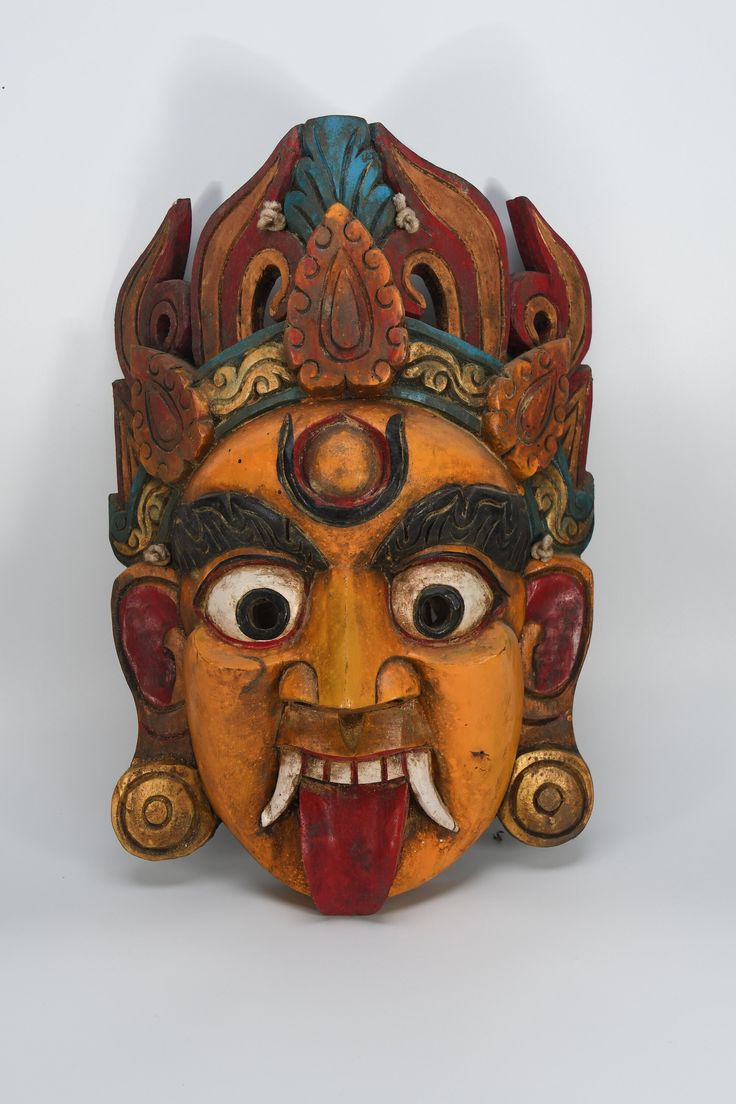
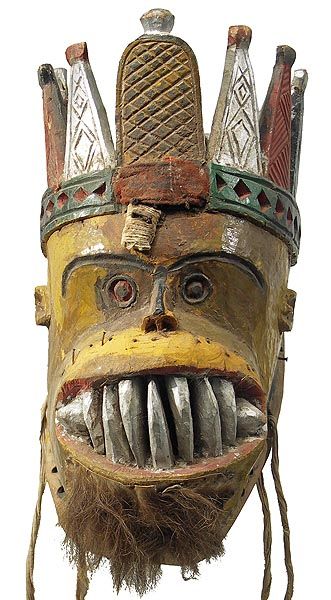
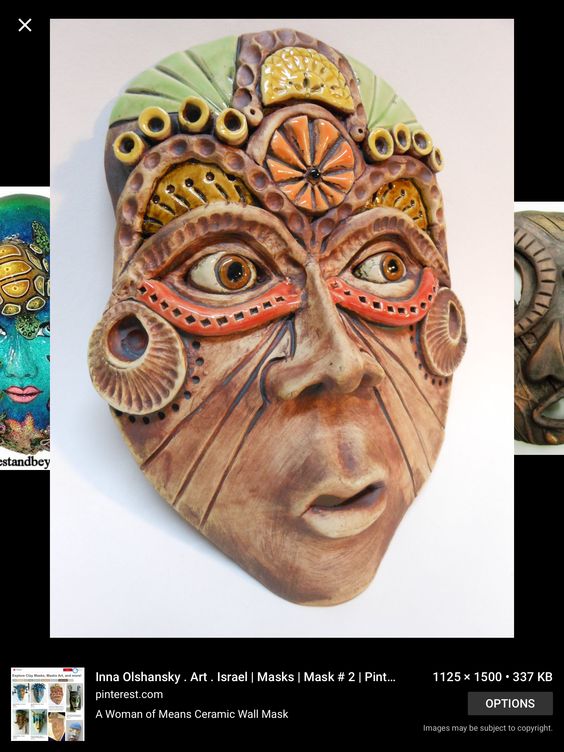
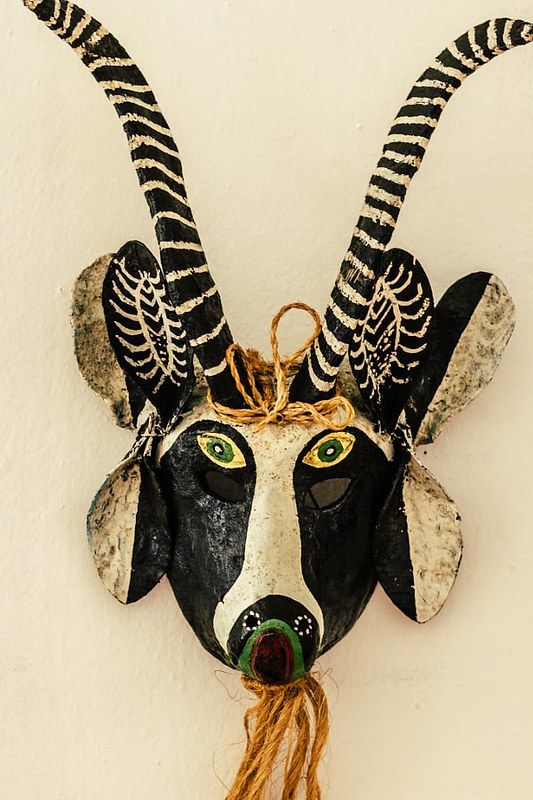
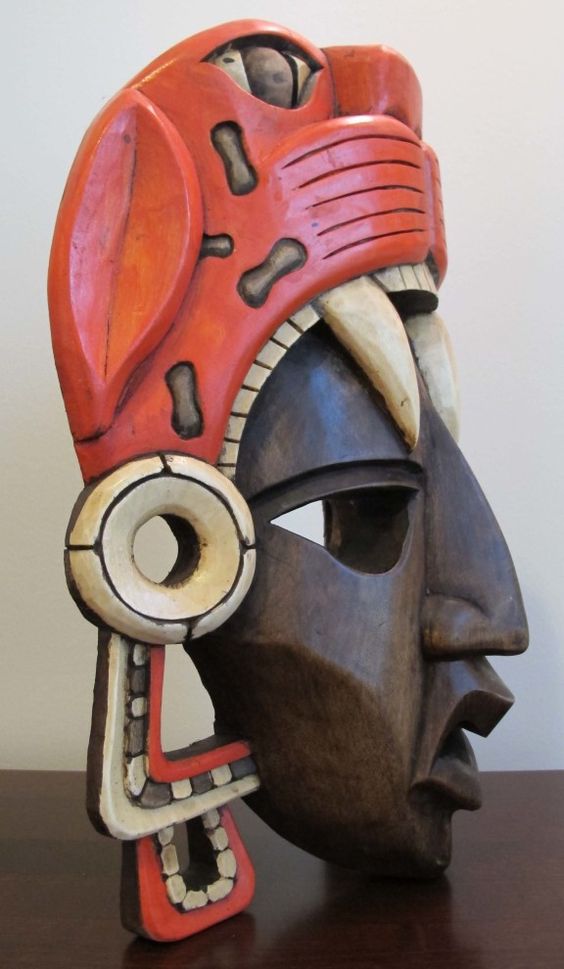
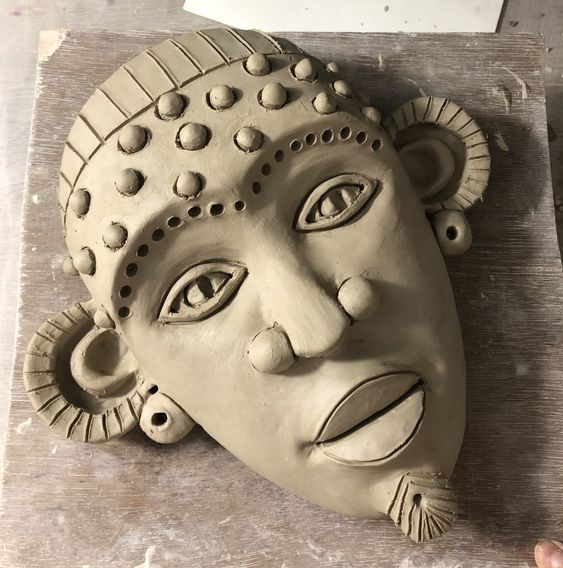
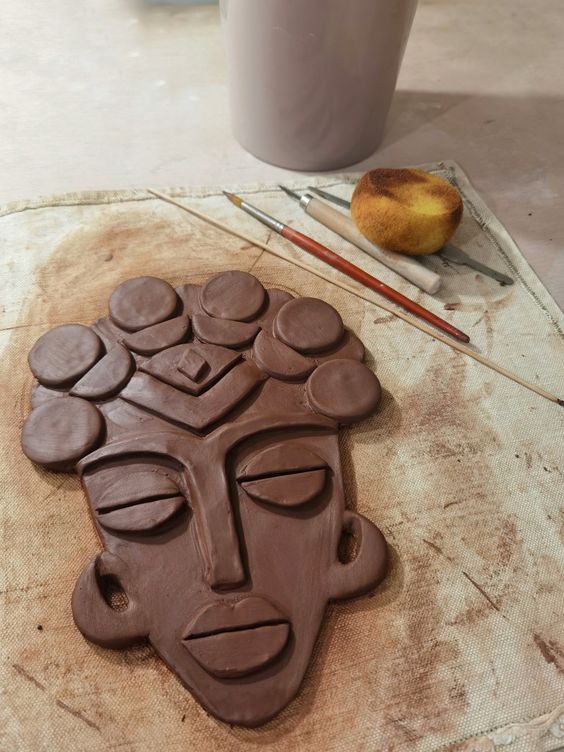
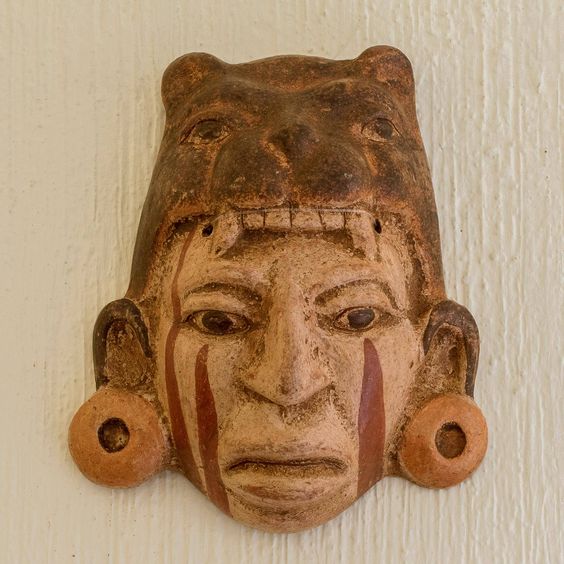
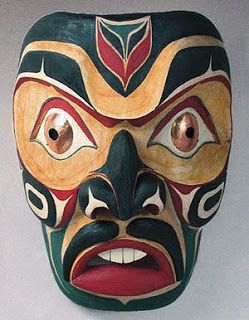
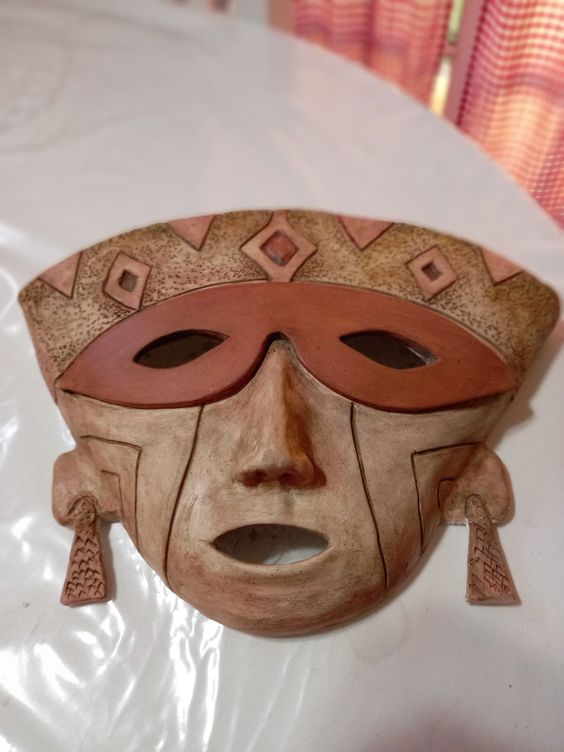
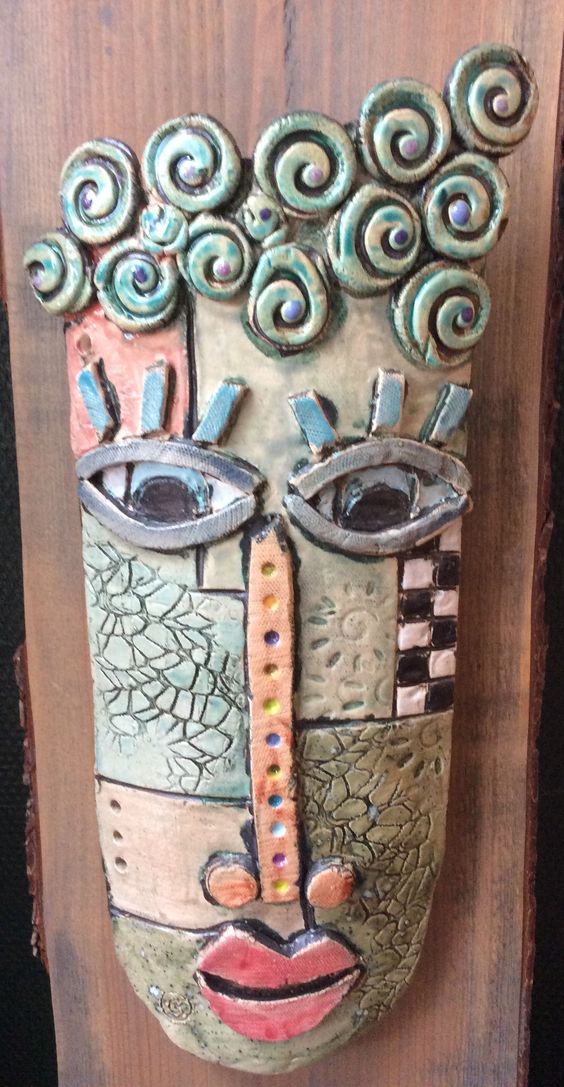
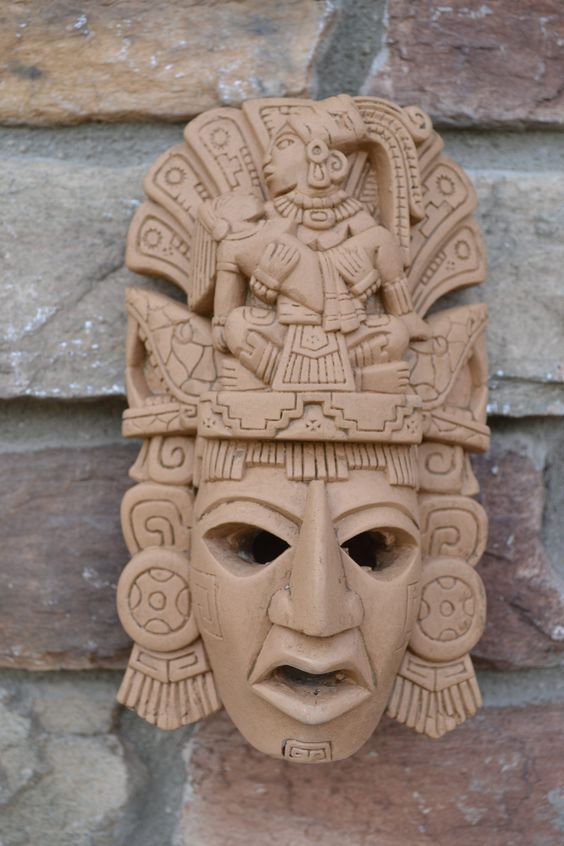
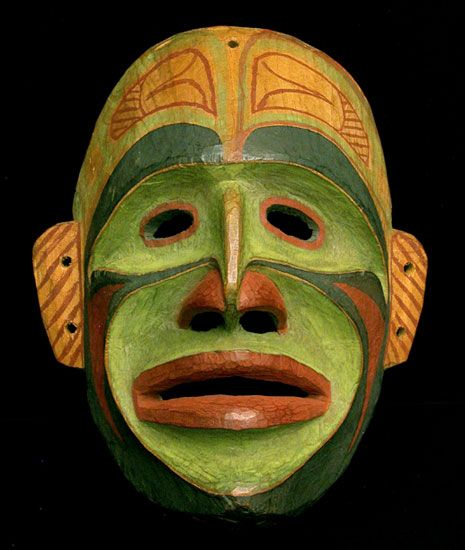
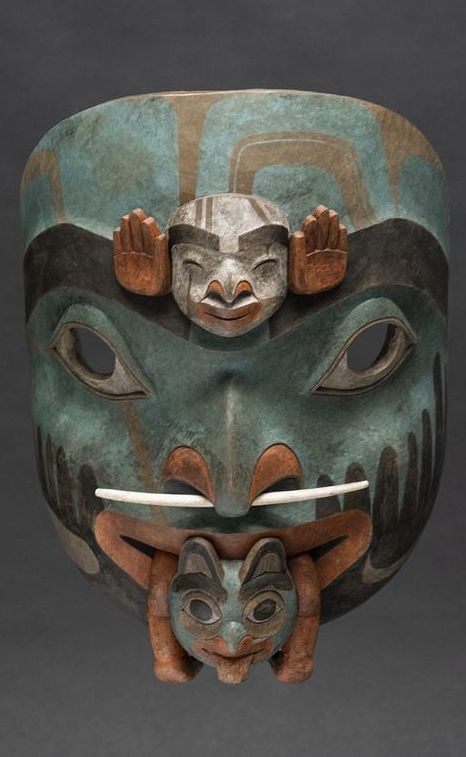
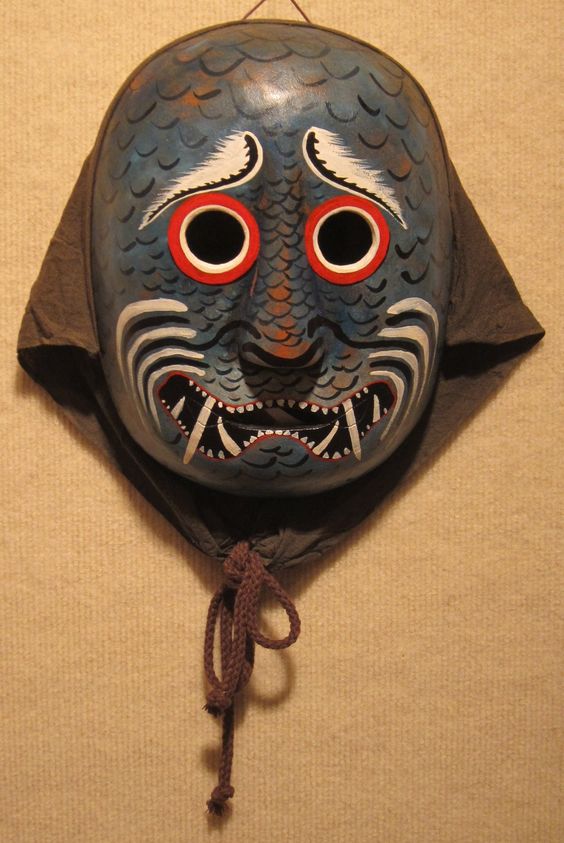
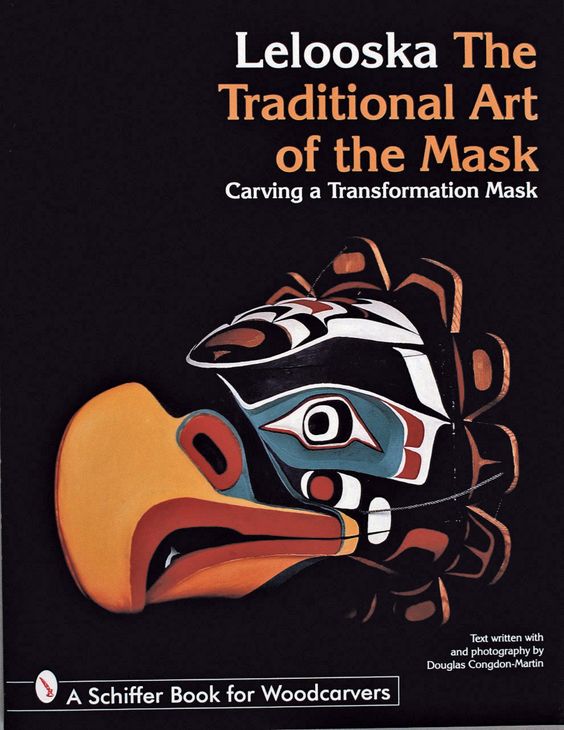
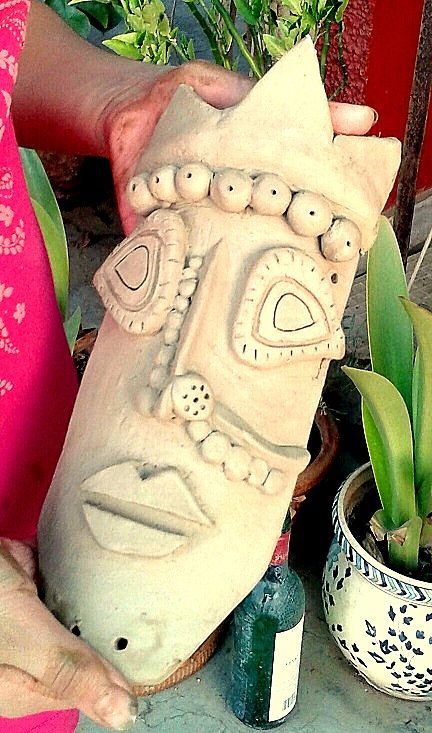
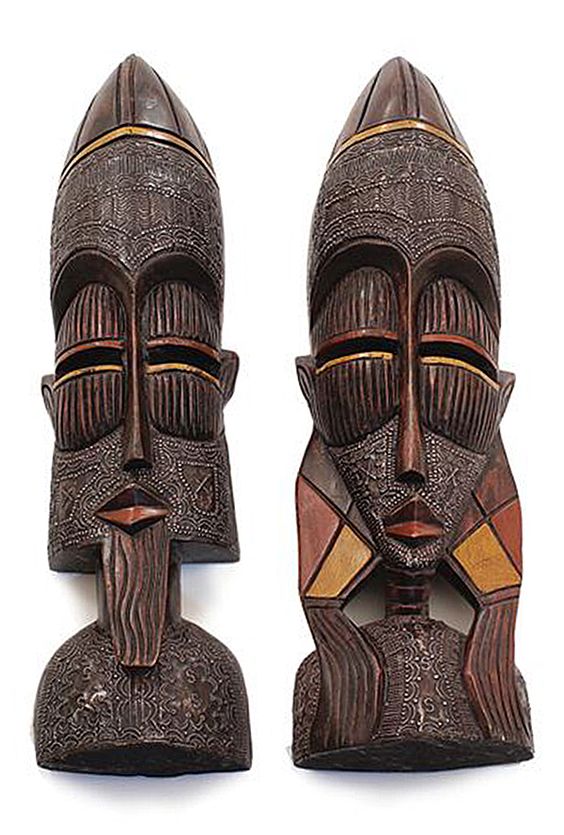
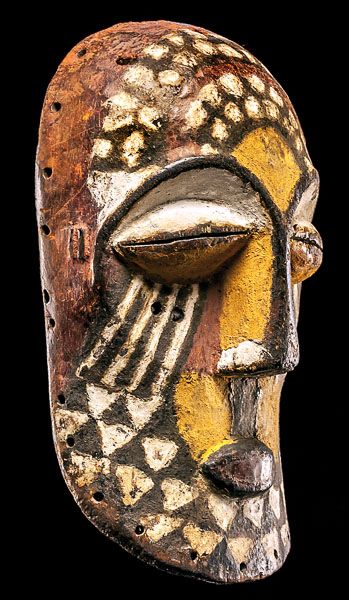
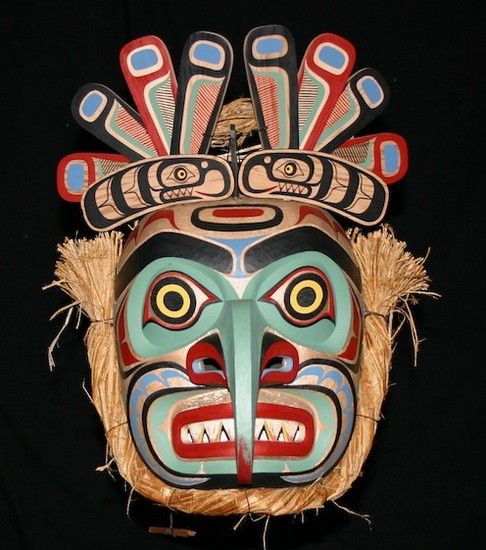
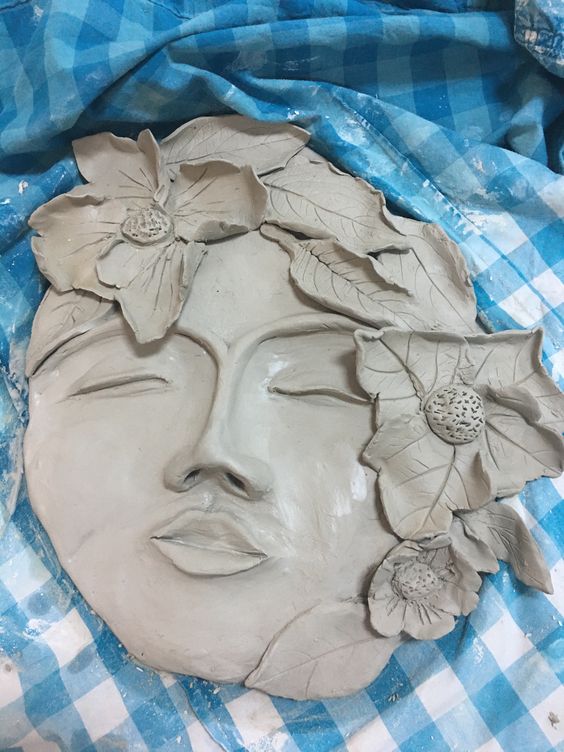
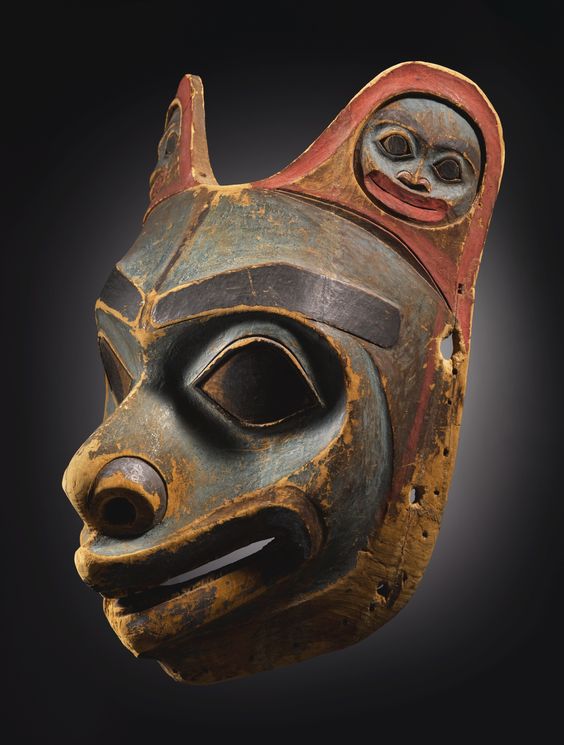
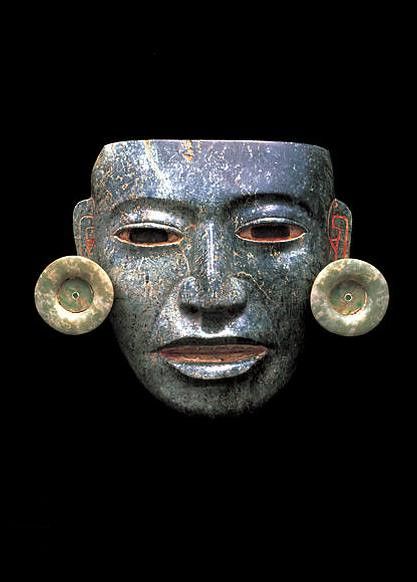
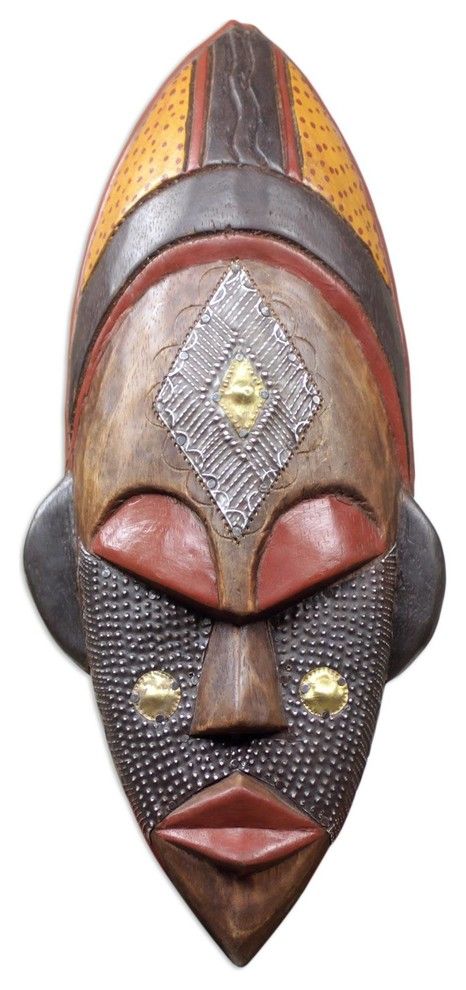
MASKS FROM VARIOUS CULTURES